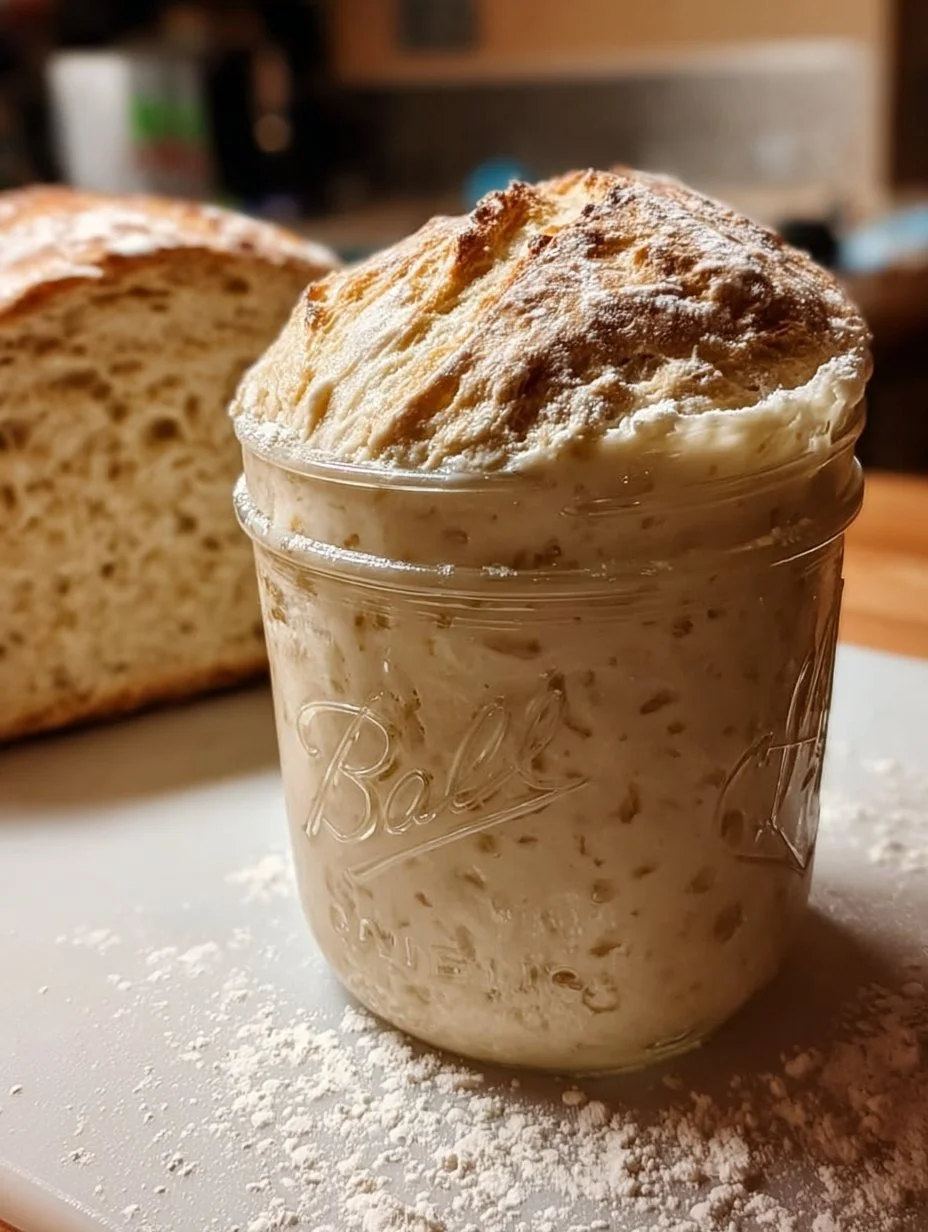
The moment the sourdough starter awakens, bubbling and frothy, joy floods my kitchen. A warm, inviting aroma fills the air—something reminiscent of freshly baked bread mingled with a hint of tangy sweetness. I watch as it comes to life, the yeast dancing, the bubbles forming. There’s something intimately magical about the marriage of flour and water transforming into this living, breathing culture that has the power to create incredible bread.
As I introduce a new feeding ratio to my beloved starter, the anticipation surges. Each ratio shift brings a nuanced change in flavor, texture, and aroma. Homemade sourdough feels like a never-ending journey of discovery, and this latest experiment has utterly transformed my bread. Now, let me guide you through the enchanting world of sourdough creation where each loaf tells a delicious story—your story.
Why You’ll Love This Sourdough Recipe
Sourdough is no mere bread; it’s a flavorful, artisanal experience celebrated by home bakers and professionals alike. This particular recipe highlights the beauty of my recent sourdough starter feeding ratio tweak, imparting a depth of flavor that dances across the palate—an alluring combination of nutty, savory, and slightly tangy notes promises to captivate anyone who takes a bite.
Imagine slicing into a freshly baked loaf, revealing a crust that crackles gently with every slice while the soft, pillowy interior tempts you to take another piece. Ideal for any occasion, from cozy Sunday breakfasts with homemade jam to rustic dinners paired with rich stews, this sourdough anchors the meal in an extraordinary way. The unique feeding ratio not only enriches the dough but amplifies the sensory experience, filling your home with that nostalgic scent of baked goodness. Yes, it’s more than just bread; it’s love manifested in a loaf.
Preparation Phase & Tools to Use
Baking sourdough becomes an act of art when you equip yourself with the right tools. Each instrument joins the process with purpose, creating magic at every turn:
- Digital Scale: Precision matters when measuring ingredients. Use this to ensure each component contributes perfectly to the overall taste.
- Mixing Bowl: A large, sturdy bowl allows for ease of mixing and kneading. Choose one that can withstand some elbow grease.
- Bench Scraper: This handy tool helps to divide your dough neatly and cleanly, making it easier to handle without losing a crumb.
- Dutch Oven: The enclosed space mimics a professional bread oven, trapping steam to develop that irresistible crust.
- Bread Knife: For a clean slice, a serrated knife cuts through the crust without crushing the soft interior.
Preparation is the soul of sourdough mastery. Always adhere to a clean environment, and take your time while you mix, knead, and shape the dough.
Ingredients for Sourdough
The beauty of sourdough lies in its simplicity—you need just a few ingredients, each playing a vital role in flavor and texture:
- Bread Flour: Offers high protein content, leading to the formation of a well-structured dough and a charming chew.
- Water: Hydrates the flour, hydrating the yeast as it brings the dough together.
- Salt: Enhances flavor and strengthens gluten, adding that much-needed bite.
- Sourdough Starter: The heart of this bread, full of wild yeast and bacteria. You can swap it with store-bought starter or another robust cultured variety, but the flavors will vary slightly.
How to Make Sourdough
- Prepare the Starter: A few hours before you begin, feed your sourdough starter with the new ratio—this ensures it is active and bubbly.
- Mix the Dough: In a large bowl, combine the bread flour, water, and 100 grams of starter. Mix until there are no dry bits. Let it rest (autolyse) for 30 minutes to activate the enzymes.
- Add Salt: Sprinkle salt over the mixture and incorporate it thoroughly. This step builds gluten that helps your dough rise.
- Knead the Dough: Use the stretch and fold method—grab the edge, stretch it up, and fold it over itself. Repeat for about 4-5 minutes until the dough feels elastic and smooth.
- Bulk Fermentation: Place the dough in a lightly oiled bowl, cover, and let it rise for 3-4 hours at room temperature. Every hour, give it a stretch and fold to strengthen the dough.
- Shape the Dough: After bulk fermentation, gently turn the dough onto a floured surface, form it into a shape (round or oval), and let it rest for 20 minutes.
- Final Shape: Shape the loaf again and place it into a floured proofing basket. Let it rise for another 2-3 hours at room temperature or overnight in the fridge for a deeper flavor.
- Preheat the Dutch Oven: About 30 minutes before baking, preheat your oven to 450°F (230°C) with the covered Dutch oven inside.
- Bake: Carefully place your loaf inside the Dutch oven. Cover and bake for 30 minutes. Remove the lid and bake for another 15-20 minutes until golden and crisp.
- Cool: Transfer the loaf to a wire rack and let it cool completely before slicing. The aroma alone is worth the wait!
Chef’s Notes & Helpful Tips
- Make-Ahead: Prepare the starter a day in advance to improve flavor. Sourdough develops depth with time, so don’t rush the fermentation.
- Oven Alternatives: No Dutch oven? You can achieve similar results using a baking stone or heavy-bottomed pot, with a pan of water on the bottom for steam.
- Customization: Infuse your sourdough with herbs, cheese, or nuts for a unique twist that excites the palate.
Common Mistakes to Avoid
Sourdough baking can be tricky; avoid these pitfalls:
- Under- or Overproofing: Always watch the dough, not the clock. Look for dough that doubles in size with bubbles forming on the surface.
- Inaccurate Measurements: An uncalibrated scale makes for unhappy bread. Always use precise ratios for reliable results.
- Ignoring Starter Health: A tired starter results in lackluster bread. Ensure you’re feeding and maintaining it regularly.
What to Serve With Sourdough
This exquisite bread pairs beautifully with an array of foods:
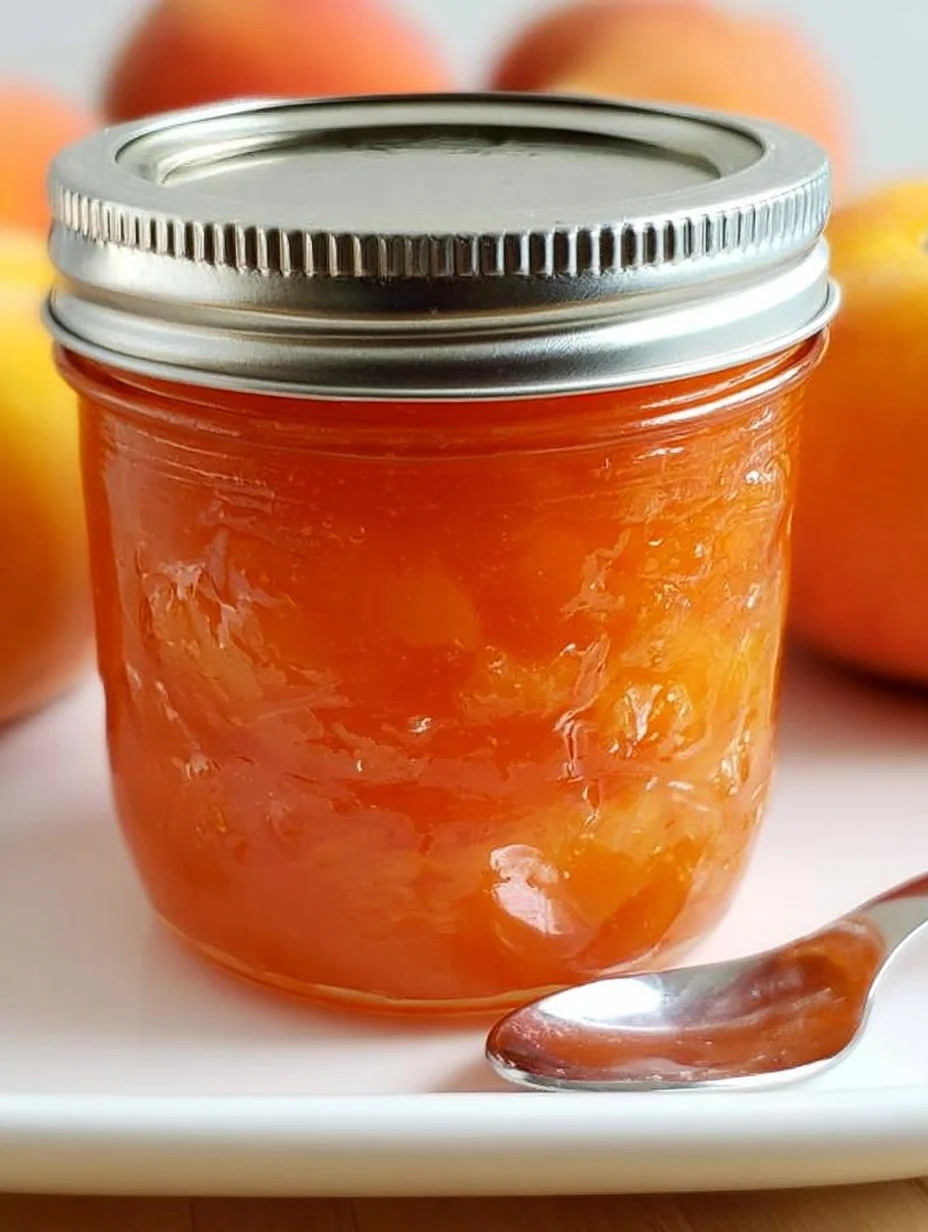
- Butter and Jam: Slather with creamy butter and a dollop of your favorite homemade jam for breakfast bliss.
- Cheese and Charcuterie: Create a gourmet board, pairing it with a selection of cheeses and cured meats for a delightful appetizer.
- Soups: Serve alongside a hearty vegetable or tomato bisque. The crust is perfect for dunking!
- Salads: Serve with a fresh garden salad topped with tangy vinaigrette to create a well-rounded meal.
- Pizza: Make garlic bread pizzas with leftover slices for a fun twist.
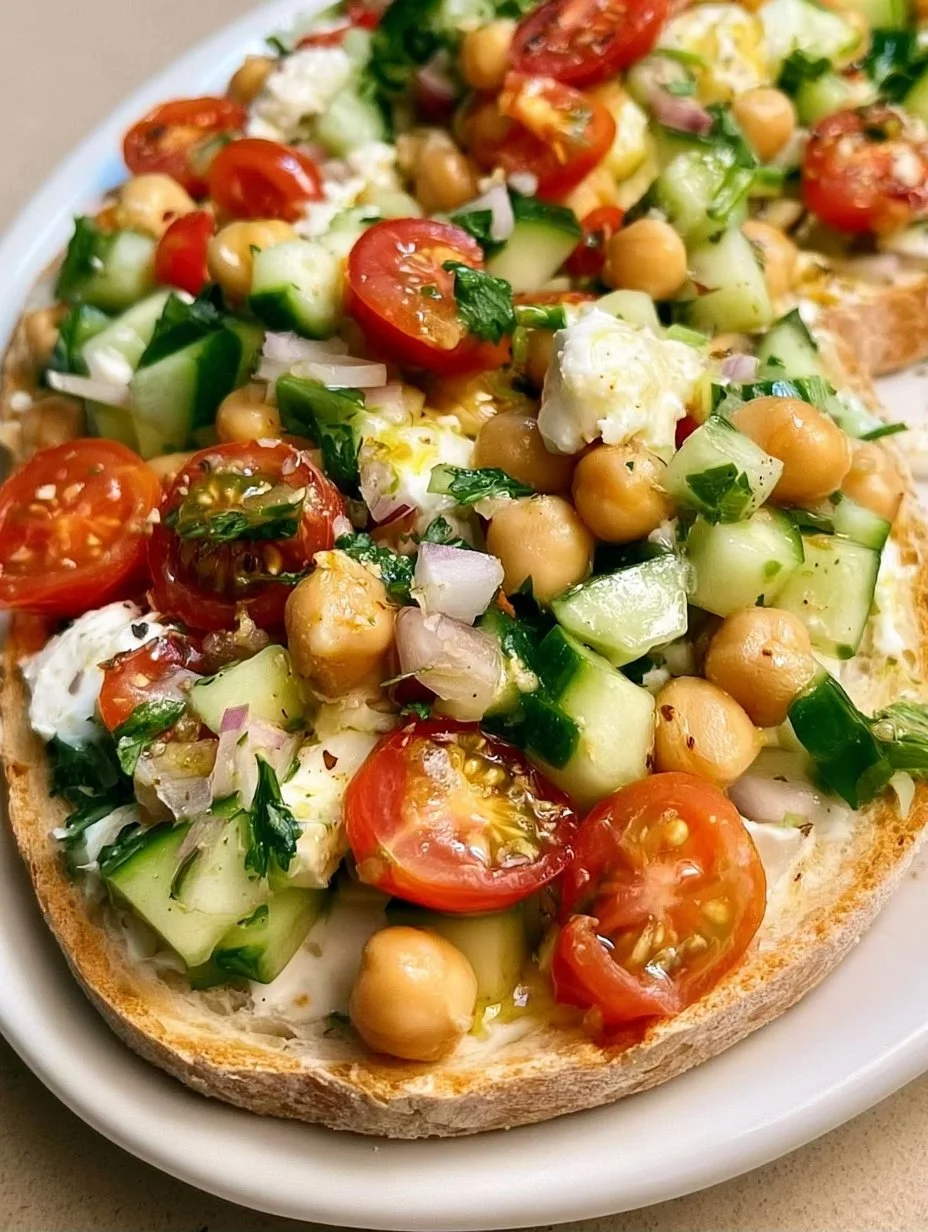
- Avocado Toast: Top slices with creamy avocado and a sprinkle of salt for a trendy brunch.
Storage & Reheating Instructions
Sourdough is best enjoyed fresh, but it will keep well. Store your bread wrapped in a kitchen towel at room temperature for 2-3 days. For longer storage, slice the loaf and freeze it in an airtight bag for up to three months. Reheat in a preheated oven at 375°F (190°C) for 5-10 minutes to bring back its original crunchy crust.
Estimated Nutrition Information
Enjoying homemade sourdough comes with the added benefit of knowing what goes into it. A standard slice amounts to approximately:
- Calories: 90
- Protein: 3g
- Carbohydrates: 18g
- Fat: 1g
Note: Nutritional values can vary depending on the exact portion size and specific ingredients used.
FAQs
Can I adjust the feeding ratio for different effects?
Absolutely! A higher hydration ratio introduces more water to the dough, yielding a lighter bread with a more open crumb structure. A stiffer starter creates a denser loaf.
How do I know when my sourdough is ready to bake?
Properly fermented dough will look puffy, with bubbles on the surface, and should pass the "poke test"—press your finger into the dough; it should spring back slowly.
Can I use all-purpose flour instead of bread flour?
Yes, but the texture will be slightly different. All-purpose flour has a lower protein content, resulting in a less chewy bread, yet it can still yield wonderful results.
Why does my bread have a sour taste?
The tangy flavors in sourdough derive from the lactic acid bacteria present in the starter. If it’s too sour, try reducing fermentation time or adjusting your starter’s feeding routine.
Can I rehydrate a dormant starter?
Definitely! Revive it by gradually feeding it larger amounts of flour and water over several feedings until it returns to its bubbly self.
Conclusion
As you embark on your sourdough adventure, remember: every loaf carries a piece of your culinary journey. This new feeding ratio embraced my starter’s potential, yielding a bread with unparalleled flavor and texture that warms the heart and fills the stomach. Don’t wait another moment; gather your ingredients, and allow the rhythm of baking to envelop you in comfort and joy. Savor the delight that comes with every slice—your journey starts now!
Print
Artisan Sourdough Bread
- Prep Time: 60 minutes
- Cook Time: 50 minutes
- Total Time: 110 minutes
- Yield: 1 loaf (about 15 slices) 1x
- Category: Bread
- Method: Baking
- Cuisine: Artisan
- Diet: Vegetarian
Description
Experience the magic of homemade sourdough with a delightful combination of nutty and tangy flavors, perfect for any occasion.
Ingredients
- 500g Bread Flour
- 350ml Water
- 100g Sourdough Starter
- 10g Salt
Instructions
- Prepare the Starter: A few hours before you begin, feed your sourdough starter with the new ratio—this ensures it is active and bubbly.
- Mix the Dough: In a large bowl, combine the bread flour, water, and 100 grams of starter. Mix until there are no dry bits. Let it rest (autolyse) for 30 minutes to activate the enzymes.
- Add Salt: Sprinkle salt over the mixture and incorporate it thoroughly. This step builds gluten that helps your dough rise.
- Knead the Dough: Use the stretch and fold method—grab the edge, stretch it up, and fold it over itself. Repeat for about 4-5 minutes until the dough feels elastic and smooth.
- Bulk Fermentation: Place the dough in a lightly oiled bowl, cover, and let it rise for 3-4 hours at room temperature. Every hour, give it a stretch and fold to strengthen the dough.
- Shape the Dough: After bulk fermentation, gently turn the dough onto a floured surface, form it into a shape (round or oval), and let it rest for 20 minutes.
- Final Shape: Shape the loaf again and place it into a floured proofing basket. Let it rise for another 2-3 hours at room temperature or overnight in the fridge for a deeper flavor.
- Preheat the Dutch Oven: About 30 minutes before baking, preheat your oven to 450°F (230°C) with the covered Dutch oven inside.
- Bake: Carefully place your loaf inside the Dutch oven. Cover and bake for 30 minutes. Remove the lid and bake for another 15-20 minutes until golden and crisp.
- Cool: Transfer the loaf to a wire rack and let it cool completely before slicing.
Notes
For best flavor, prepare the starter a day in advance. Store the bread wrapped in a kitchen towel at room temperature for 2-3 days, or slice and freeze for longer storage.
Nutrition
- Serving Size: 1 slice
- Calories: 90
- Sugar: 0g
- Sodium: 400mg
- Fat: 1g
- Saturated Fat: 0g
- Unsaturated Fat: 0g
- Trans Fat: 0g
- Carbohydrates: 18g
- Fiber: 1g
- Protein: 3g
- Cholesterol: 0mg