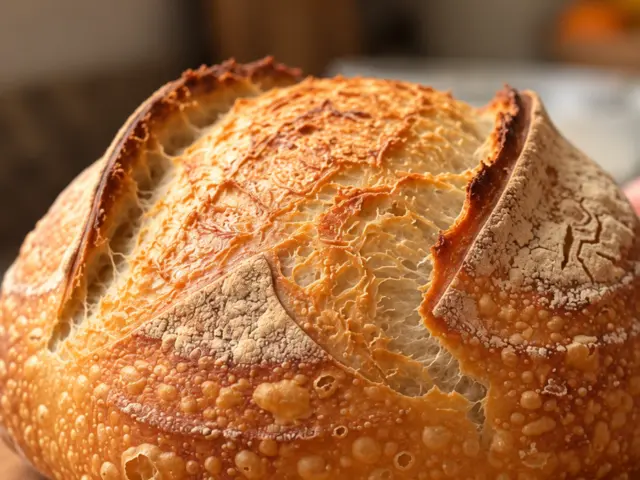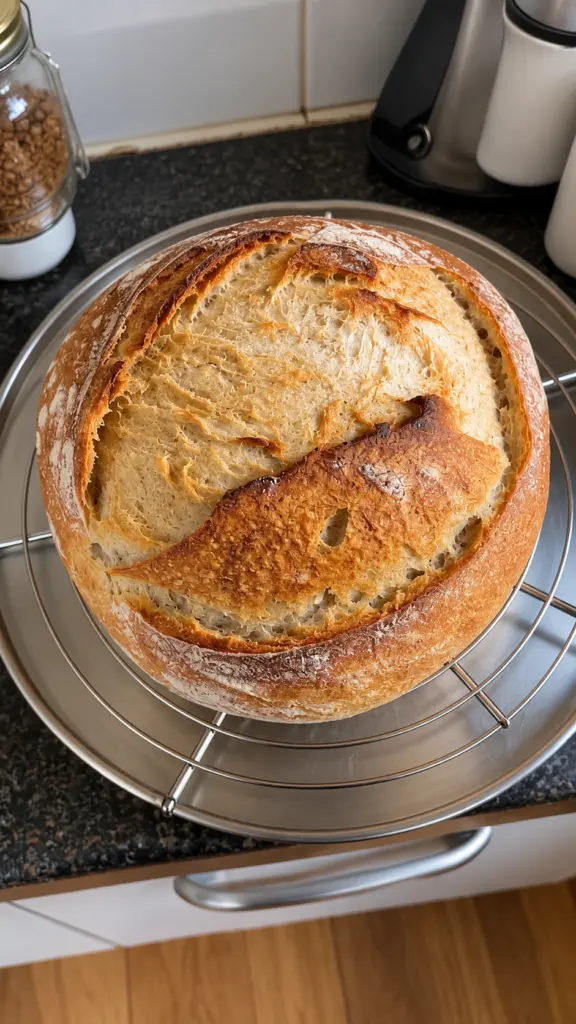
No-Stretch-and-Fold Sourdough Bread — Stand Mixer Method uses a dough hook and short rests to build a simple sourdough dough, followed by a long 24–48-hour refrigerator fermentation. The finished round loaf has a golden, rustic crust and a soft, chewy interior, with very little active work along the way.
Why Use a Stand Mixer for Sourdough?
The appeal is simple: weigh the ingredients into one bowl, let the flour hydrate, and use the dough hook for a few short rounds. Once the dough has enough strength, it can ferment without repeated hand-folding sessions. The long cold rest also gives you some flexibility about baking day.
This is still a naturally leavened loaf, so its schedule depends on the starter and the dough temperature. Use the times as a guide and the dough’s appearance as the final check.
Ingredients
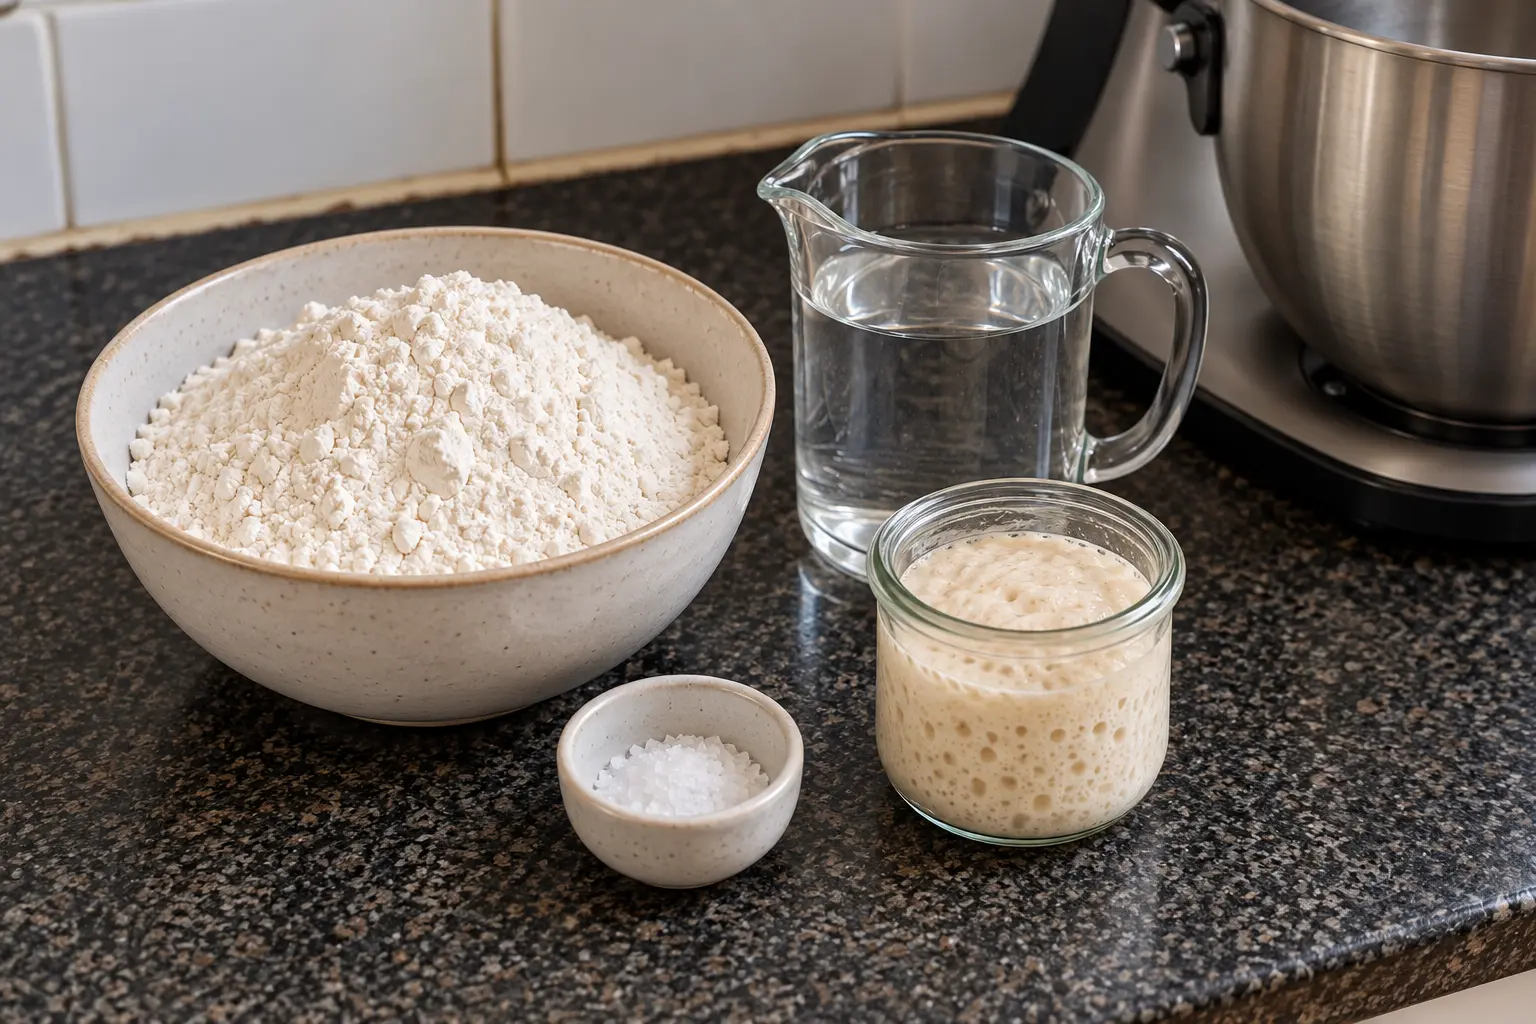
- 500 g bread flour
- 330 g water
- 100 g active sourdough starter
- 10 g fine sea salt
Use a starter maintained at equal weights of flour and water. Feed it in advance so it is expanded and bubbly when you mix. A kitchen scale makes the formula easier to repeat. Keep a little extra flour available for shaping and dusting the proofing cloth; it is not part of the dough measurement.
Equipment
- Stand mixer with dough hook
- Digital kitchen scale
- Straight-sided covered dough container
- Bench scraper
- Round proofing basket or cloth-lined bowl
- Oven-safe lidded 5- to 6-quart Dutch oven
- Heat-rated parchment or bread sling
- Bread lame, oven mitts, and cooling rack
Instructions: Mix and Develop the Dough
-
Check the starter: Use active sourdough starter at 100% hydration, fed with equal weights flour and water. It should be bubbly, expanded, and near its peak. Weigh 100 g for the dough; unfed discard is not a substitute in this method.
-
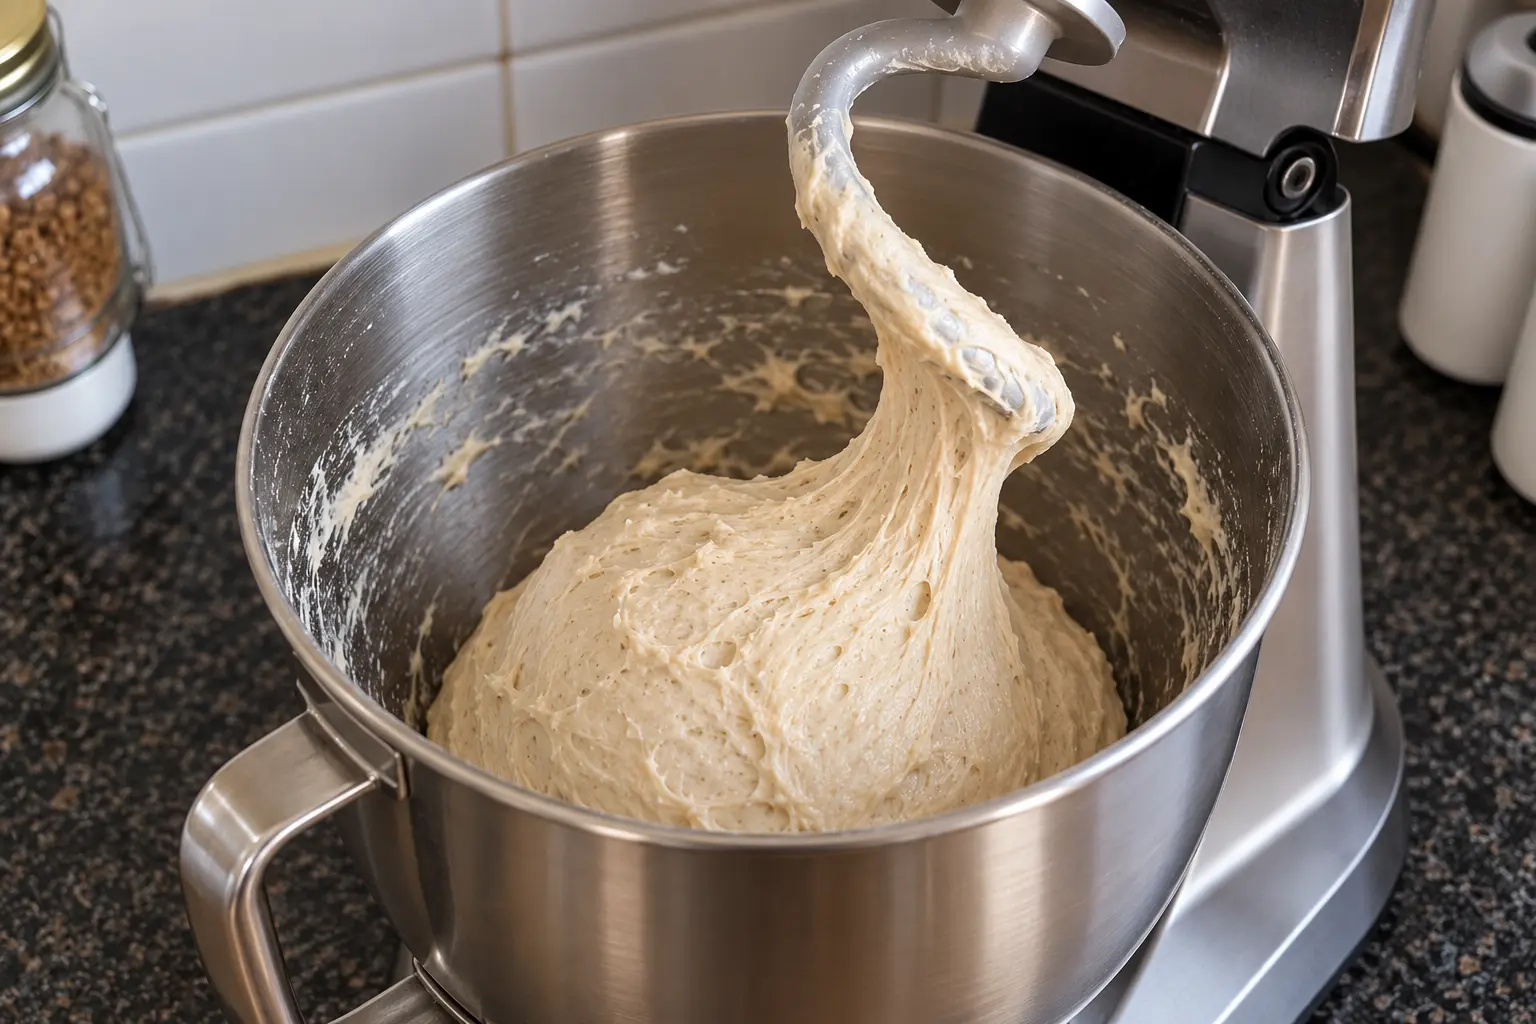
Mix in the mixer bowl: Weigh the water, active sourdough starter, bread flour, and fine sea salt directly into the stand-mixer bowl. Fit the dough hook and mix on the manufacturer's recommended low kneading speed for 1–2 minutes, until no dry flour remains. Stop the mixer, scrape down the bowl, and cover.
-
Rest and use short mixing rounds: Rest for 30 minutes. Mix with the hook on low for 1 minute, cover, and rest for 20 minutes. Repeat the 1-minute mix and 20-minute rest, then mix a final time for 1 minute. The dough should become smoother, elastic, and able to stretch into a thin membrane before tearing. If it still tears immediately, rest 15 minutes and give it one more 1-minute mix. Keep the dough below about 80°F (27°C); pause if it warms noticeably. Follow your mixer's dough capacity and speed limits.
Start Fermentation and Refrigerate
-
Start fermentation: Transfer the dough to a straight-sided container with room to expand, mark its starting level, and cover. Leave at about 72–75°F (22–24°C) until it has risen roughly 20–30% and shows a few bubbles along the sides, often another 1–3 hours after the mixing rounds, but longer with a cool kitchen or slower starter. Do not perform hand stretch-and-folds.
-
Refrigerate for 24–48 hours: Cover the container and place it in a refrigerator at about 37–39°F (3–4°C). Check at 24 hours. Use the shorter end if it is already well aerated and approaching a 50–75% rise from the original mark. Continue toward 48 hours only while the dough still holds its structure and needs more time. Do not wait for the clock if it starts to flatten or collapse.
-
Assess before shaping: Aim for dough that is aerated, slightly domed, and roughly 50–75% larger than when it entered the container. If the refrigerator has kept it nearly unchanged, let it finish at room temperature until those signs appear; this may take 2–4 hours or longer. If it already looks ready, shape it while cold. Avoid forcing a weak or overfermented dough through another long warm rise.
The refrigerator stage is a bulk fermentation: the dough rests as one mass before shaping. It may rise slowly or nearly stop once cold. If it has not developed enough gas by baking day, finish that stage at room temperature before forming the loaf.
Shape, Proof, and Bake
-
Shape a round loaf: Turn the dough onto a lightly floured surface. Use a bench scraper and cupped hands to gather it into a round, then gently drag and rotate it across an unfloured patch to create surface tension. If it resists tightening, cover and rest 20 minutes before finishing the shape. Place seam-side up in a generously floured, cloth-lined proofing basket or bowl.
-
Final proof: Cover and proof at room temperature until the loaf feels lighter and puffy and a gently pressed indentation slowly springs back partway, usually 1–3 hours but potentially longer for cold dough. Look for an airy feel as well as the indentation; very cold dough can give a misleading poke test. The loaf does not need to double.
-
Preheat and score: During the last 45 minutes of proofing, preheat the oven and an oven-safe lidded Dutch oven to 450°F (230°C), following the pot manufacturer's heating guidance. Turn the loaf onto parchment rated for this temperature or a reusable bread sling. Make one curved score about 1/2 inch deep with a sharp bread lame. Carefully lower the dough into the hot pot using oven mitts.
-
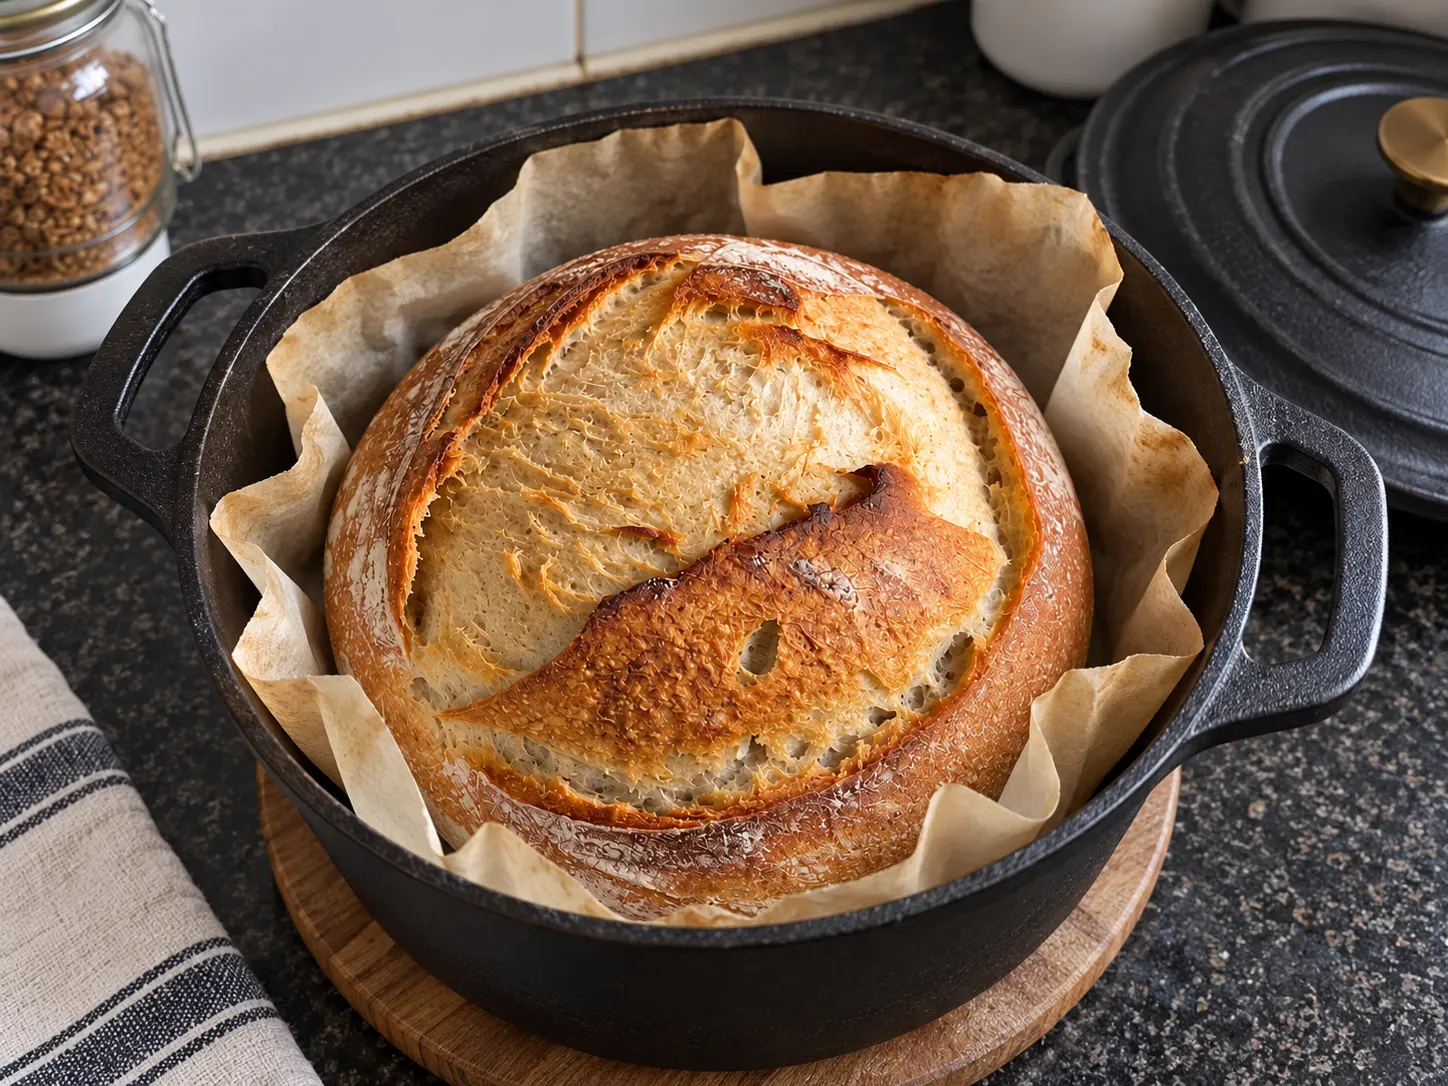
Bake: Cover and bake at 450°F (230°C) for 25 minutes. Remove the lid, reduce the oven to 425°F (220°C), and bake for another 20–25 minutes, until the crust is deep golden and the center is about 205–210°F (96–99°C). Extend the uncovered bake a few minutes if needed for color and doneness.
-
Cool completely: Lift the loaf onto a wire rack and cool for at least 2 hours before slicing. Cutting too soon releases steam and can make the crumb seem sticky. Serve once the center has cooled.
A Practical Baking Schedule
Allow about 20 minutes of active work, plus mixing rests, fermentation, proofing, baking, and cooling. A typical batch takes about 36 hours with a 24-hour refrigerator rest. Depending on starter activity and whether you choose the longer cold rest, plan roughly 32–60 hours overall.
- Day 1: mix, complete the short hook rounds, and let the dough begin to rise before refrigerating.
- Day 2: check after 24 hours. Finish fermentation if needed, shape, proof, bake, and cool.
- Day 3 option: extend the cold rest toward 48 hours only if the dough is still strong and not already overfermented.
Tips for a Golden Loaf and Chewy Crumb
- Start with a reliable, recently fed starter. The refrigerator slows fermentation, so a weak starter will not be rescued by a longer cold rest.
- Bread flour is the most predictable choice for this formula. The total hydration is about 69%, including the flour and water in the starter.
- Keep the mixer on the speed recommended for bread dough. Short rounds and rests give the flour time to hydrate without prolonged mixing.
- Check dough strength before refrigeration. A supple dough that stretches thin is more useful than a fixed number of mixer minutes.
- Mark the container and watch the rise. Refrigerators, starter strength, and room temperature can change the schedule substantially.
- Use 24 hours as the first checkpoint. A 48-hour rest is an option for dough that is still in good condition, not a requirement.
- Keep the dough covered throughout the long rest, and cool the baked loaf fully for cleaner slices.
Variations
- A little whole wheat: replace 50 g of the bread flour with whole wheat flour. Add up to 10 g more water only if the dough feels unusually stiff; fermentation may run faster.
- A milder loaf: favor the 24-hour cold rest and bake once fermentation and final proof are complete.
- An oval loaf: shape an oval and use a matching proofing basket and covered baking vessel large enough to allow expansion.
Serving Ideas
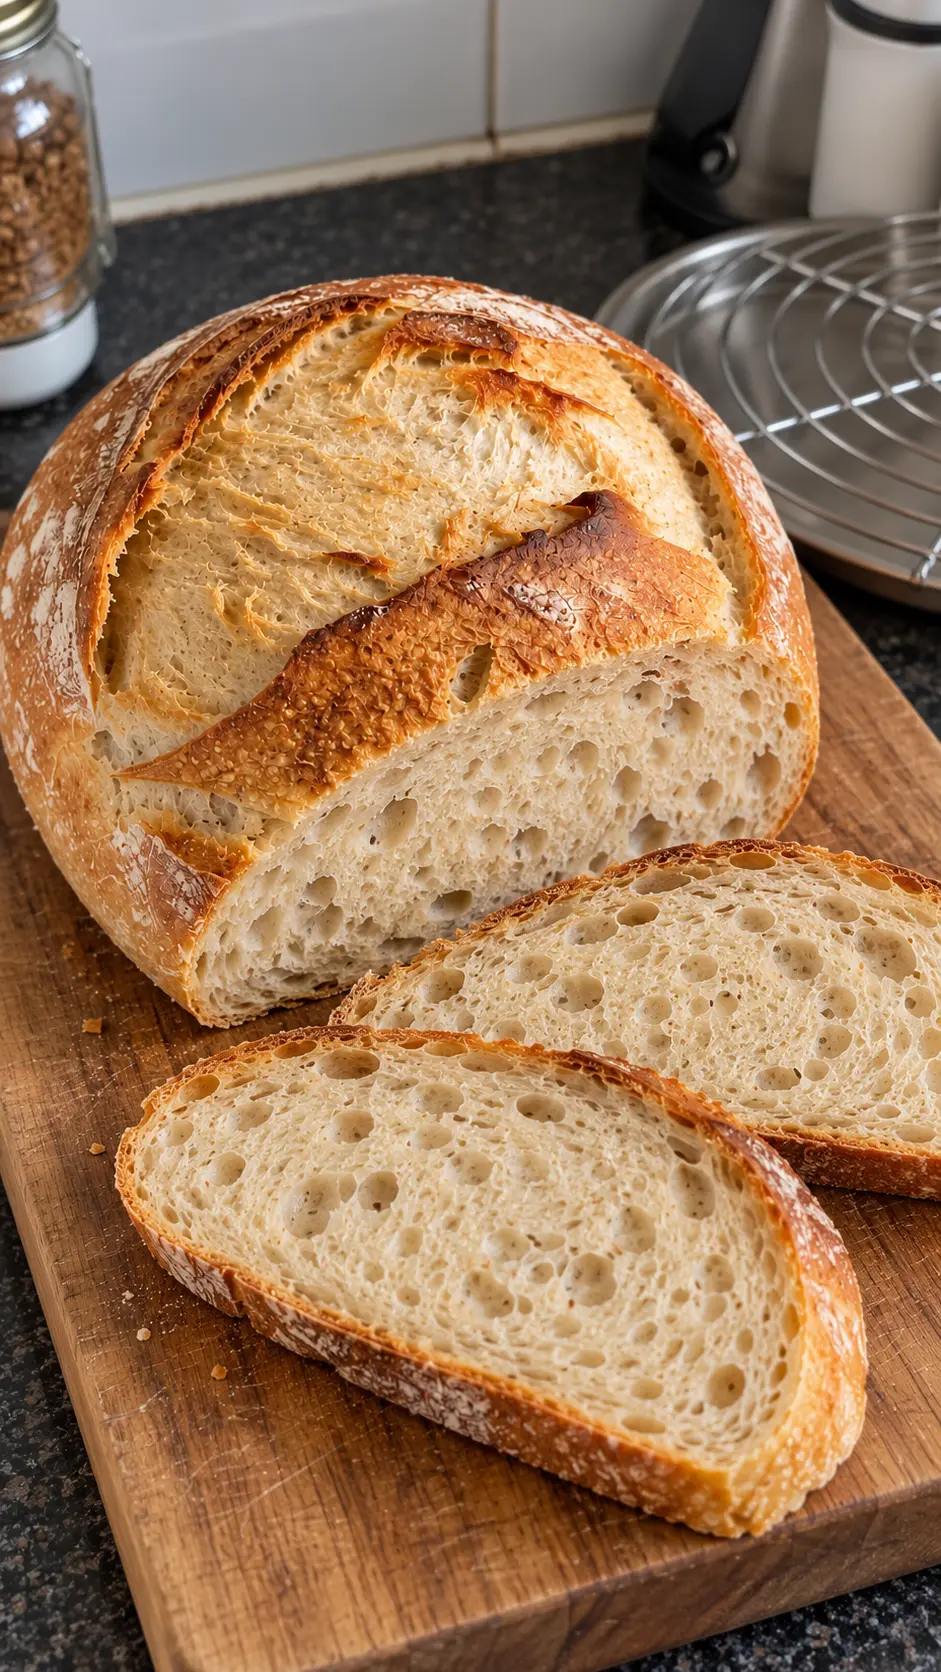
Slice the cooled bread for butter, soup, eggs, or a sandwich. Toasting brings back the crust’s crispness the next day. A serrated bread knife helps preserve the soft center without flattening it.
Storage
Once completely cool, keep the loaf in a bread box or a loosely closed bag at room temperature for up to 2 days. A sealed bag softens the crust but helps retain moisture. Slice and freeze in an airtight freezer bag for up to 2 months for longer storage.
Reheating
Toast slices directly from frozen, or warm a thawed loaf in a 350°F (175°C) oven for 10–15 minutes to refresh the crust. Let it stand briefly before cutting.
FAQ
Can sourdough work without hand stretch-and-folds?
Yes. In this method, the dough hook develops the dough during several short mixing rounds. Check for elasticity before the long rest, and allow fermentation to do the remaining work.
Can I put it straight into the refrigerator after mixing?
This formula includes a short room-temperature start until the dough shows activity. At normal refrigerator temperatures, fermentation can slow sharply. If chilled before any activity develops, the dough may need a much longer warm period later.
Is the 24–48-hour rest before or after shaping?
It is a cold bulk fermentation in a covered container before shaping. Afterward, the dough is shaped, given a final proof, and baked.
Do I have to wait the full 48 hours?
No. Check at 24 hours and continue only if the dough remains strong and needs more fermentation. Dough that is already airy and well risen should move to shaping; a collapsing dough should not be held longer.
Why has my dough barely risen in the fridge?
A cold refrigerator can make the dough almost dormant. Let it continue at room temperature until it becomes aerated and shows the rise described in the instructions. Confirm that your starter was active before mixing.
Why did the loaf spread or feel gummy?
Spreading can come from insufficient dough strength or overfermentation. A gummy crumb may reflect underfermentation, an underbaked center, or slicing before cooling. Use the dough cues, bake thoroughly, and allow at least 2 hours to cool.
Is this a no-knead recipe?
The dough is kneaded briefly by the mixer. The hands-off part is skipping the repeated hand stretch-and-fold sessions; shaping the loaf is still necessary.
Conclusion
This stand-mixer sourdough method trades repeated hand folds for a few short hook mixes and a generous refrigerator rest. A lively starter, adequate dough strength, and clear fermentation cues are the keys to a well-risen golden boule.
Print
No-Stretch-and-Fold Sourdough Bread — Stand Mixer Method
- Prep Time: 20 minutes
- Cook Time: 50 minutes
- Total Time: 36 hours
- Yield: 1 round loaf (12 slices) 1x
- Category: Sourdough
- Method: Baking
Description
A golden round sourdough loaf made with short stand-mixer rounds, no hand stretch-and-folds, and a 24–48-hour refrigerated bulk fermentation.
Ingredients
- 500 g bread flour
- 330 g water
- 100 g active sourdough starter
- 10 g fine sea salt
Instructions
Step 1 Check the starter: Use active sourdough starter at 100% hydration, fed with equal weights flour and water. It should be bubbly, expanded, and near its peak. Weigh 100 g for the dough; unfed discard is not a substitute in this method.
Step 2 Mix in the mixer bowl: Weigh the water, active sourdough starter, bread flour, and fine sea salt directly into the stand-mixer bowl. Fit the dough hook and mix on the manufacturer's recommended low kneading speed for 1–2 minutes, until no dry flour remains. Stop the mixer, scrape down the bowl, and cover.
Step 3 Rest and use short mixing rounds: Rest for 30 minutes. Mix with the hook on low for 1 minute, cover, and rest for 20 minutes. Repeat the 1-minute mix and 20-minute rest, then mix a final time for 1 minute. The dough should become smoother, elastic, and able to stretch into a thin membrane before tearing. If it still tears immediately, rest 15 minutes and give it one more 1-minute mix. Keep the dough below about 80°F (27°C); pause if it warms noticeably. Follow your mixer's dough capacity and speed limits.
Step 4 Start fermentation: Transfer the dough to a straight-sided container with room to expand, mark its starting level, and cover. Leave at about 72–75°F (22–24°C) until it has risen roughly 20–30% and shows a few bubbles along the sides, often another 1–3 hours after the mixing rounds, but longer with a cool kitchen or slower starter. Do not perform hand stretch-and-folds.
Step 5 Refrigerate for 24–48 hours: Cover the container and place it in a refrigerator at about 37–39°F (3–4°C). Check at 24 hours. Use the shorter end if it is already well aerated and approaching a 50–75% rise from the original mark. Continue toward 48 hours only while the dough still holds its structure and needs more time. Do not wait for the clock if it starts to flatten or collapse.
Step 6 Assess before shaping: Aim for dough that is aerated, slightly domed, and roughly 50–75% larger than when it entered the container. If the refrigerator has kept it nearly unchanged, let it finish at room temperature until those signs appear; this may take 2–4 hours or longer. If it already looks ready, shape it while cold. Avoid forcing a weak or overfermented dough through another long warm rise.
Step 7 Shape a round loaf: Turn the dough onto a lightly floured surface. Use a bench scraper and cupped hands to gather it into a round, then gently drag and rotate it across an unfloured patch to create surface tension. If it resists tightening, cover and rest 20 minutes before finishing the shape. Place seam-side up in a generously floured, cloth-lined proofing basket or bowl.
Step 8 Final proof: Cover and proof at room temperature until the loaf feels lighter and puffy and a gently pressed indentation slowly springs back partway, usually 1–3 hours but potentially longer for cold dough. Look for an airy feel as well as the indentation; very cold dough can give a misleading poke test. The loaf does not need to double.
Step 9 Preheat and score: During the last 45 minutes of proofing, preheat the oven and an oven-safe lidded Dutch oven to 450°F (230°C), following the pot manufacturer's heating guidance. Turn the loaf onto parchment rated for this temperature or a reusable bread sling. Make one curved score about 1/2 inch deep with a sharp bread lame. Carefully lower the dough into the hot pot using oven mitts.
Step 10 Bake: Cover and bake at 450°F (230°C) for 25 minutes. Remove the lid, reduce the oven to 425°F (220°C), and bake for another 20–25 minutes, until the crust is deep golden and the center is about 205–210°F (96–99°C). Extend the uncovered bake a few minutes if needed for color and doneness.
Step 11 Cool completely: Lift the loaf onto a wire rack and cool for at least 2 hours before slicing. Cutting too soon releases steam and can make the crumb seem sticky. Serve once the center has cooled.
Notes
Total time is a typical 36-hour schedule and includes fermentation, proofing, and cooling. Allow roughly 32–60 hours overall depending on dough activity and the 24–48-hour cold rest. Start with a reliable, recently fed starter. The refrigerator slows fermentation, so a weak starter will not be rescued by a longer cold rest. Bread flour is the most predictable choice for this formula. The total hydration is about 69%, including the flour and water in the starter. Keep the mixer on the speed recommended for bread dough. Short rounds and rests give the flour time to hydrate without prolonged mixing. Check dough strength before refrigeration. A supple dough that stretches thin is more useful than a fixed number of mixer minutes. Mark the container and watch the rise. Refrigerators, starter strength, and room temperature can change the schedule substantially. Use 24 hours as the first checkpoint. A 48-hour rest is an option for dough that is still in good condition, not a requirement. Keep the dough covered throughout the long rest, and cool the baked loaf fully for cleaner slices. Once completely cool, keep the loaf in a bread box or a loosely closed bag at room temperature for up to 2 days. A sealed bag softens the crust but helps retain moisture. Slice and freeze in an airtight freezer bag for up to 2 months for longer storage.