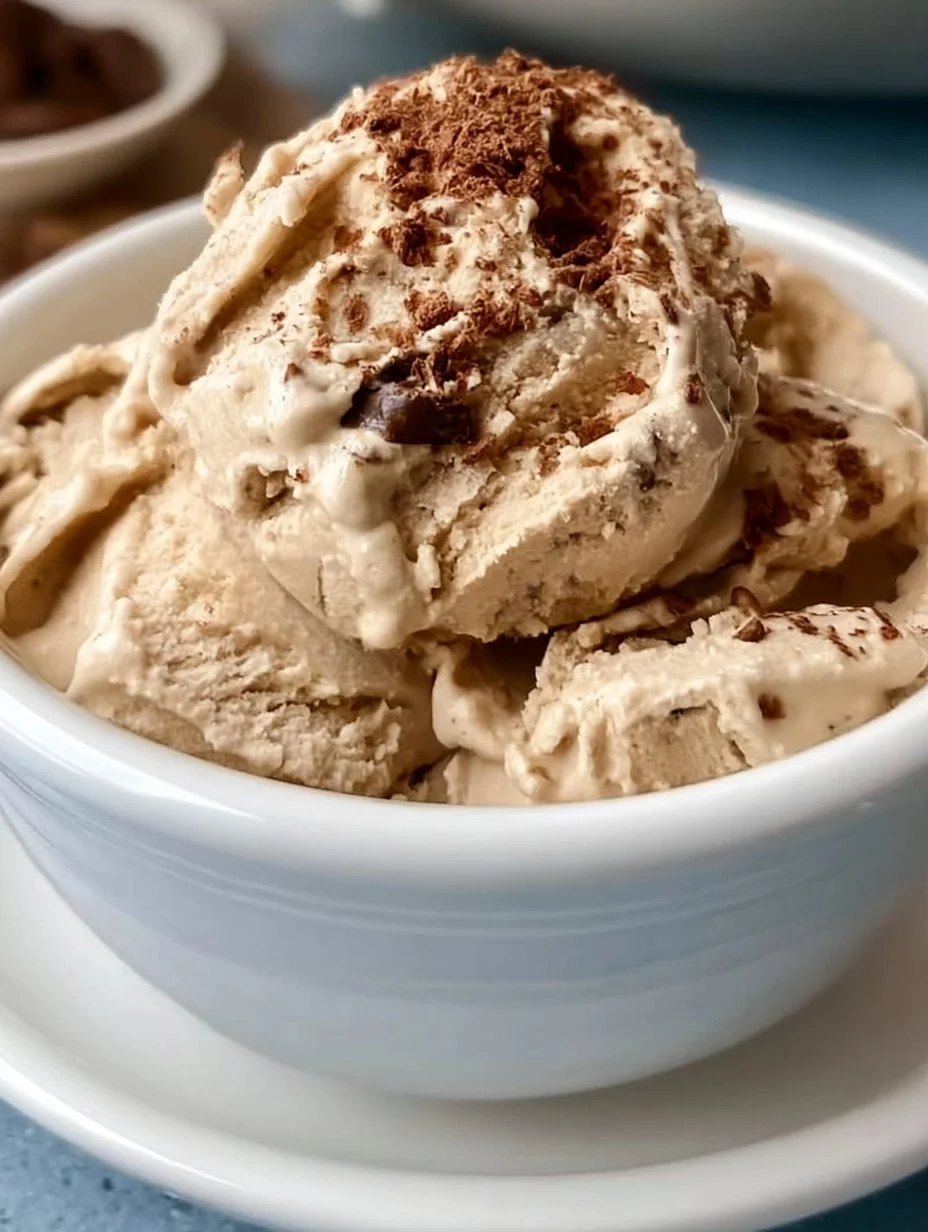
Coffee lovers, gather around! Imagine a creamy scoop of delight that awakens your senses and wraps you in a cozy blanket of flavor. Picture a warm summer afternoon, a homemade treat beckoning—a vague hint of coffee aromas wafting through the air as you savor each velvety bite. This isn’t just ice cream; it’s a moment frozen in time, a comforting embrace of rich, aromatic coffee melded into luscious creaminess. Breathe deeply, and let the anticipation of creating your very own Easy No Churn Coffee Ice Cream wash over you.
This ice cream brings together the robust flavor of coffee and the silkiness of heavy cream, offering an indulgent experience without any of the fuss associated with traditional ice cream-making. With each spoonful, you can taste the sweet notes of sweetened condensed milk, the subtle richness of vanilla, and a hint of salt that perfectly balances the sweetness. The texture is a cloud of cream—the kind that melts luxuriously on your tongue, leaving nothing but bliss. Simple yet sophisticated, this ice cream transforms an ordinary day into something special.
Why You’ll Love This Easy No Churn Coffee Ice Cream
Not only is this Easy No Churn Coffee Ice Cream a dream come true for coffee aficionados, but it also caters to those lazy days when desserts should be quick yet indulgent. With only a handful of ingredients and zero need for an ice cream maker, you can create a remarkable treat that impresses anyone fortunate enough to share a scoop. Its versatility makes it perfect for both casual evenings at home or grand celebrations with friends and family.
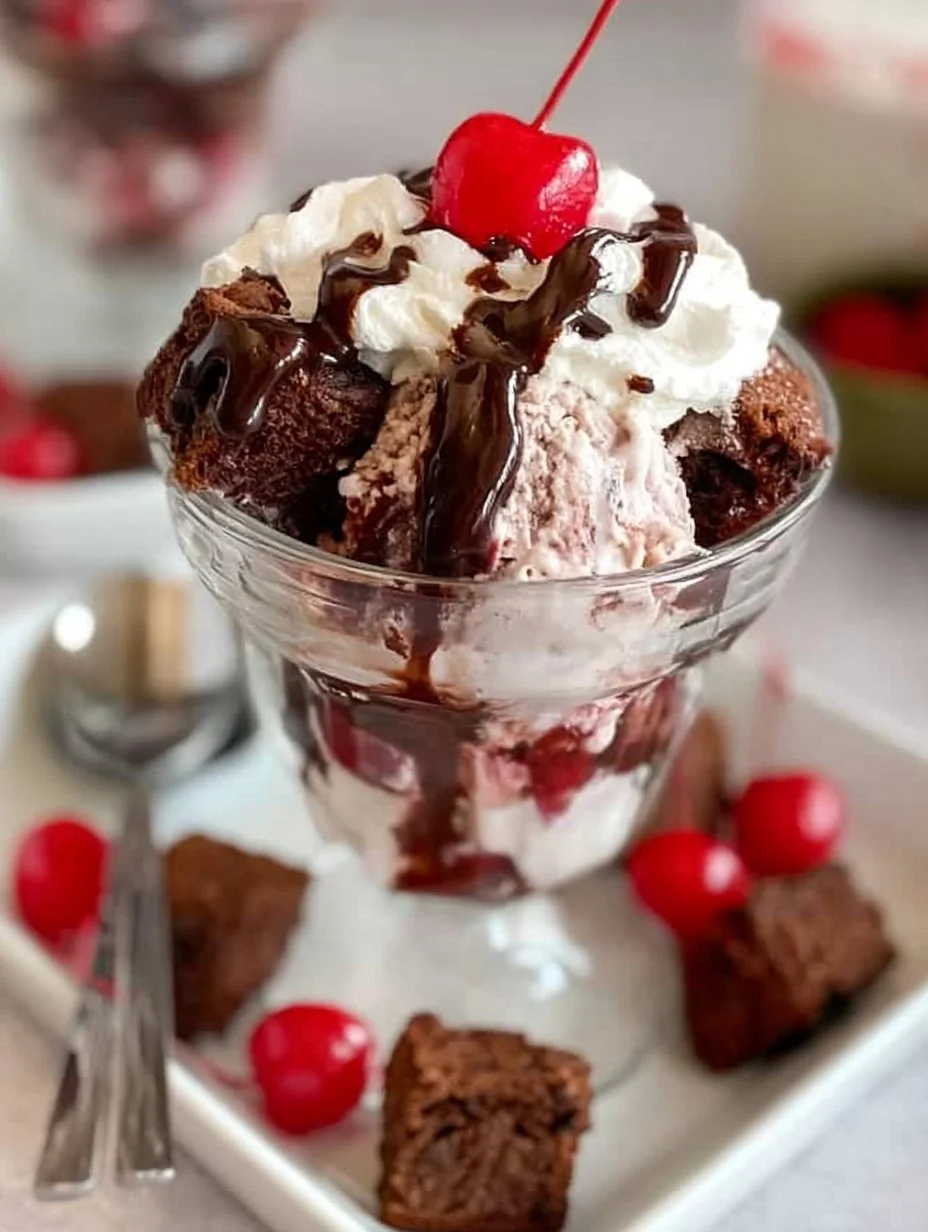
As the sun sets, imagine dishing this icy delight into bowls for a lovely dessert after dinner. Each spoonful tantalizes your palate—coffee notes dance with sweet creaminess, awakening flavors that comfort the soul. Serve it alongside a warm brownie, crumbled cookies, or a drizzle of chocolate syrup, and watch as it becomes the star of the evening. This easy ice cream stands out not just for its effortless preparation, but for the memories it leaves behind.
Preparation Phase & Tools to Use
Crafting this delightful coffee ice cream requires minimal tools but a sprinkle of enthusiasm. Here’s what you’ll need:
- Mixing Bowls: A large mixing bowl for whipping the cream, and another for combining the coffee mixture. Using glass or metal bowls helps maintain cool temperatures while mixing.
- Electric Mixer or Whisk: For perfectly whipped cream, an electric mixer saves time and effort, but a trusty hand whisk will work wonders if you seek some workout fun!
- Spatula: A flexible spatula helps gently fold the whipped cream into the coffee mixture, ensuring you maintain that luscious airy texture.
- Freezer-safe Container: A loaf pan or any freezer-safe container works well for freezing, allowing your ice cream to set up perfectly.
Preparation Tips:
- Chill your mixing bowls and beaters in the freezer for a few minutes before whipping the cream, as it helps achieve better volume.
- Whip the cream to soft peaks to ensure an airy texture without being overly stiff.
Ingredients for Easy No Churn Coffee Ice Cream
To craft a delightful batch of this ice cream, gather the following ingredients:
- 2 cups heavy cream: A rich base that guarantees a creamy texture. You can substitute with coconut cream for a dairy-free option, though it will alter the flavor slightly.
- 1 cup sweetened condensed milk: This adds sweetness and creaminess. Remember, there are low-fat options available if you need to make adjustments.
- 2 tablespoons instant coffee granules: Choose your favorite brand for the best flavor impact. Decaf granules are also a great alternative if you’re looking to cut down on caffeine.
- 1 teaspoon vanilla extract: Pure vanilla extract elevates the flavor—a great addition to evoke warm memories.
- A pinch of salt: This tiny element enhances the sweetness while balancing the flavors beautifully.
How to Make Easy No Churn Coffee Ice Cream
Crafting your own coffee ice cream is as straightforward as it is enjoyable. Follow these simple steps to create a batch that will have you feeling like a professional ice cream maker in no time:
-
In a large mixing bowl, whip the heavy cream using an electric mixer until soft peaks form—stirring too long can create butter, so keep a close eye on it!
-
In a separate bowl, combine the sweetened condensed milk with the instant coffee granules, vanilla extract, and a pinch of salt. Mix until smooth, ensuring no granules remain visible.
-
Gently fold the whipped cream into the coffee mixture using a spatula, taking care to maintain that airy texture as you blend the two. The mixture should be perfectly swirled together, light and fluffy.
-
Pour the combined mixture into your loaf pan or freezer-safe container, smoothing the top with your spatula to create an even layer.
-
Cover the container tightly with plastic wrap or a lid and freeze for at least 4-6 hours, or until the ice cream is firm and ready to serve.
-
Scoop, serve, and delight in the joy of your homemade coffee ice cream, relishing every creamy spoonful!
Chef’s Notes & Helpful Tips
- Feel free to make this ice cream a day ahead. It keeps wonderfully in the freezer and develops a richer flavor with time.
- If you prefer a crunch, fold in toasted nuts or chocolate chips before freezing. They add delightful texture and flavor contrasts!
- Add a splash of a coffee liqueur for an extra adult twist on this treat, enriching the coffee flavors.
Common Mistakes to Avoid
While making this ice cream may seem foolproof, a few pitfalls can derail your creamy creation:
- Over-whipping the Cream: Watch your cream; if it over-whips, you risk creating a grainy texture similar to butter. Aim for soft peaks.
- Skipping the Salt: Never underestimate the power of balance in flavors. The pinch of salt enhances sweetness and adds depth.
- Not Allowing Enough Freezing Time: Resist the temptation to serve prematurely. Allowing it sufficient time in the freezer ensures perfect scoopability.
What to Serve With Easy No Churn Coffee Ice Cream
This ice cream stands tall on its own, but embellishing it elevates dessert to extraordinary levels. Here are some pairing ideas from our culinary journey:
- Warm Brownies: The fudgy decadence contrasts well with the cool coffee ice cream, creating an unforgettable combination.
- Chocolate Syrup Drizzle: A rich and velvety addition, drawing out the coffee flavors while adding sweetness.
- Crumbled Biscotti: Doubles as both a topping and a charming edible spoon, offering delightful texture and crunch.
- Caramel Sauce: Drizzling warm caramel creates a beautiful contrast and enhances the dessert’s richness.
- Fruits: Fresh berries or banana slices provide a bright, refreshing balance and a burst of tartness.
- Espresso Shot: Serve it with a hot shot of espresso for the ultimate indulgence that deepens the coffee experience.
- Whipped Cream: Top with extra whipped cream and a sprinkle of cocoa powder for a show-stopping treat.
Storage & Reheating Instructions
Store your Easy No Churn Coffee Ice Cream in an airtight container or wrapped in plastic wrap to keep it fresh. It can last about two weeks in the freezer, although it tends to get devoured before that! For the best scoop after freezing, allow it to sit at room temperature for about 5-10 minutes before digging in; this will make serving much easier.
Estimated Nutrition Information
A serving size of this delightful ice cream (about ½ cup) contains approximately:
- Calories: 280
- Total Fat: 19g
- Saturated Fat: 11g
- Carbohydrates: 25g
- Sugar: 22g
- Protein: 4g
Nutrition values may vary based on specific ingredient brands and their measurements. Always consider personal dietary needs.
FAQs
1. Can I use decaffeinated coffee granules?
Absolutely! Decaf coffee granules will give you all the flavor without the caffeine buzz, making this ice cream perfect for any time of the day.
2. What if I don’t have heavy cream?
If heavy cream isn’t available, you can substitute it with whipped topping to achieve a similar creaminess, although the flavor may differ slightly.
3. Can I make this ice cream without sugar?
You can experiment with sugar alternatives, but keep in mind the texture may change. Erythritol or monk fruit sweeteners could work without drastically altering the outcome.
4. How can I add chocolate to this coffee ice cream?
You can fold in chocolate chips or swirl in melted chocolate for a mocha flavor profile—both delicious options that enhance your indulgence!
5. Is this recipe suitable for those with dairy allergies?
By substituting heavy cream with coconut cream and ensuring the other ingredients are dairy-free, this recipe can be adapted for those with lactose intolerance or dairy allergies.
Conclusion
With its decadent flavor and easy preparation, Easy No Churn Coffee Ice Cream captures the essence of comfort and indulgence in every creamy spoonful. This delightful dessert invites you to savor special moments, turning your everyday experiences into something extraordinary. So why not gather your ingredients, roll up your sleeves, and immerse yourself in crafting this beautiful treat? Each bite promises not only to satisfy your sweet tooth but also to create cherished memories along the way. Take the plunge today, and discover the joy of homemade ice cream that speaks to your love for coffee!
Print
Easy No Churn Coffee Ice Cream
- Prep Time: 20 minutes
- Cook Time: 0 minutes
- Total Time: 360 minutes
- Yield: 4 servings 1x
- Category: Dessert
- Method: Freezing
- Cuisine: American
- Diet: Vegetarian
Description
A creamy homemade coffee ice cream that is simple to make without an ice cream maker, combining rich coffee flavor with fluffy texture.
Ingredients
- 2 cups heavy cream
- 1 cup sweetened condensed milk
- 2 tablespoons instant coffee granules
- 1 teaspoon vanilla extract
- A pinch of salt
Instructions
- In a large mixing bowl, whip the heavy cream using an electric mixer until soft peaks form.
- In a separate bowl, combine the sweetened condensed milk with the instant coffee granules, vanilla extract, and a pinch of salt. Mix until smooth.
- Gently fold the whipped cream into the coffee mixture using a spatula.
- Pour the combined mixture into your loaf pan or freezer-safe container.
- Cover the container tightly and freeze for at least 4-6 hours.
- Scoop, serve, and enjoy your homemade coffee ice cream!
Notes
Chill your mixing bowls before whipping cream for better volume. Fold in chocolate chips or nuts for added texture.
Nutrition
- Serving Size: 1 serving
- Calories: 280
- Sugar: 22g
- Sodium: 50mg
- Fat: 19g
- Saturated Fat: 11g
- Unsaturated Fat: 5g
- Trans Fat: 0g
- Carbohydrates: 25g
- Fiber: 0g
- Protein: 4g
- Cholesterol: 80mg