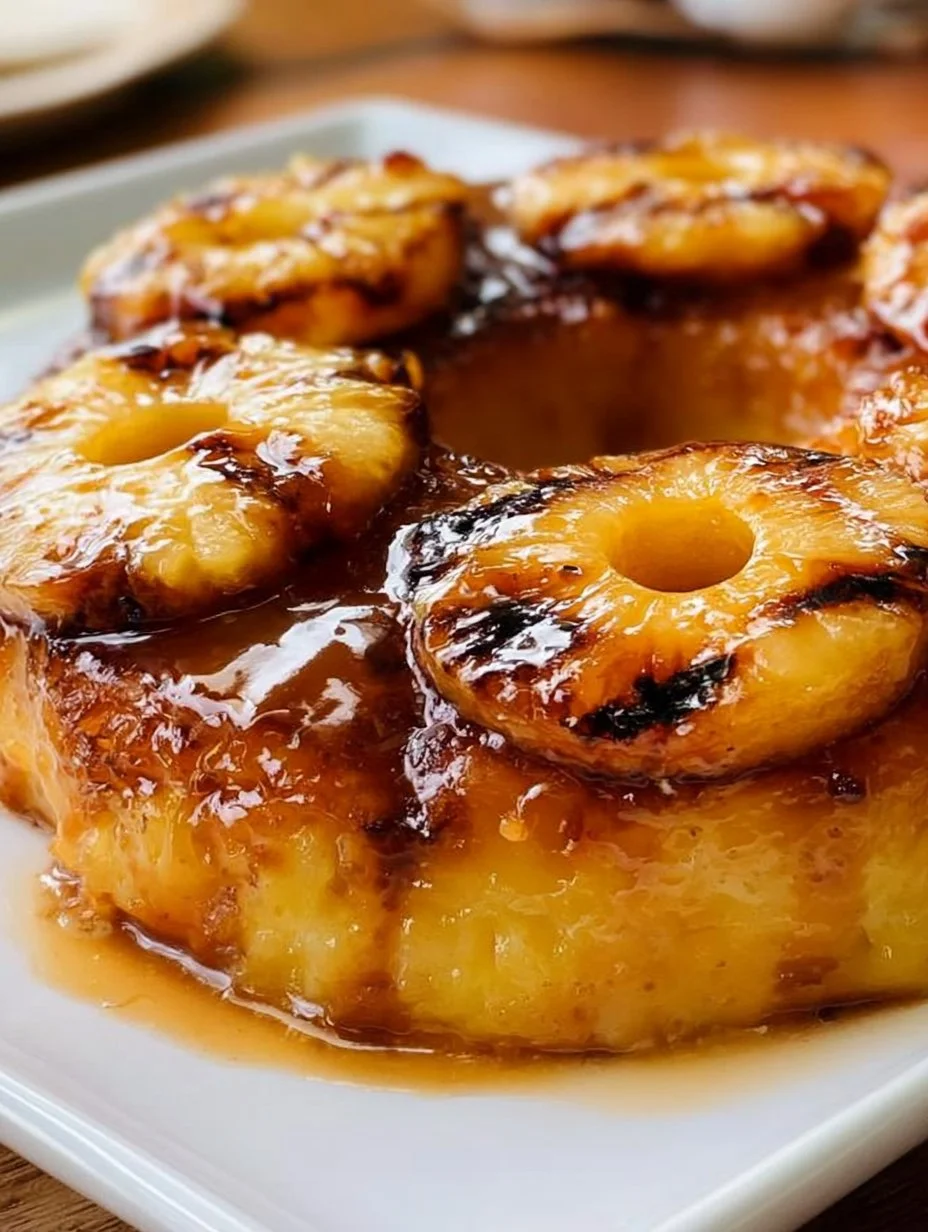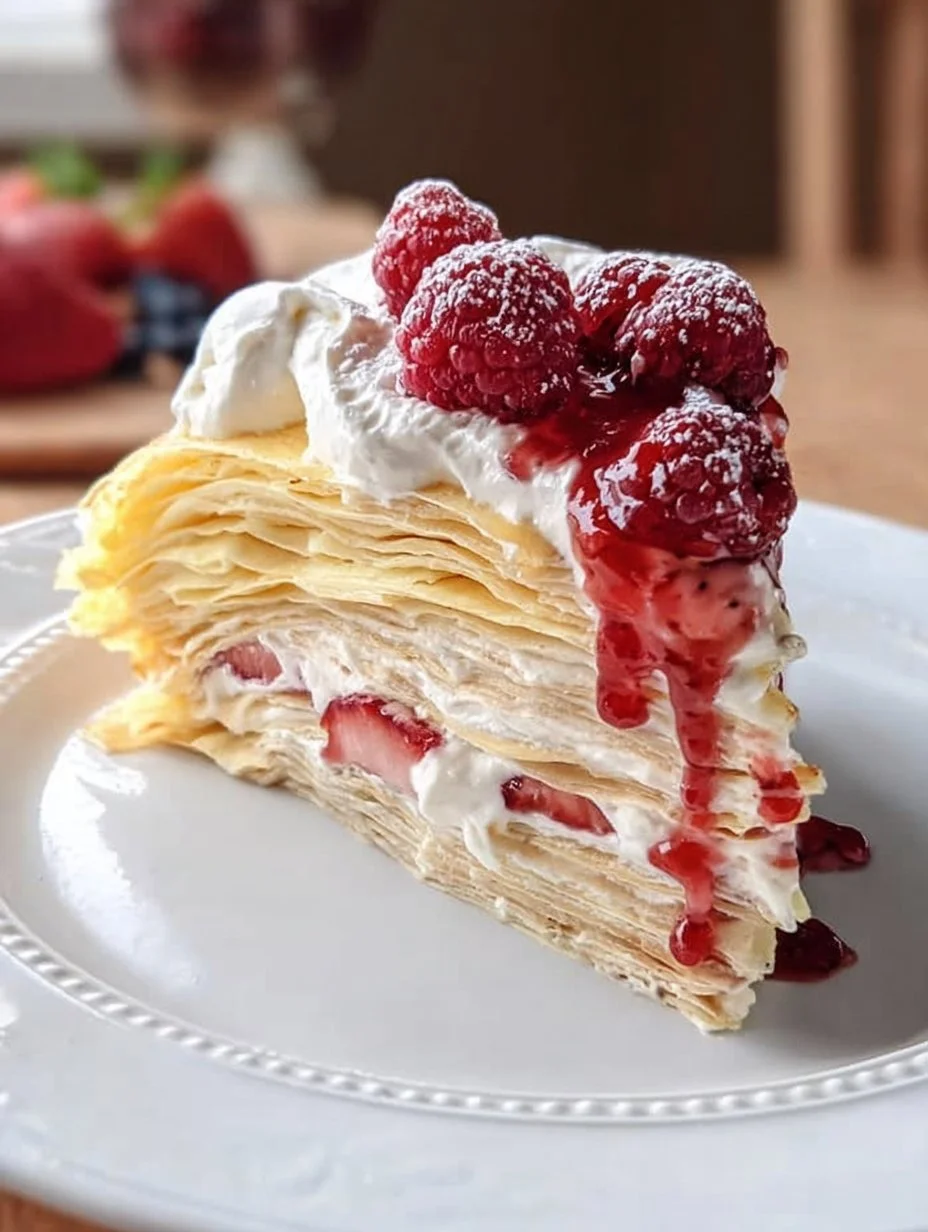
As you step into your kitchen, the rich aroma of the buttery batter begins to dance through the air, wrapping you in a warm hug. Each delicate crepe unfolds like a whisper, gently revealing layers of sweet indulgence, creating a masterpiece that beckons to be devoured. This is not just any cake—this is a layered crepe cake, a culinary symphony that sings with creamy textures and hints of vanilla, enticing you to explore its delicious depths. The anticipation builds with every layer stacked, each crepe cradling velvety frosting or luscious fruit, offering a decadent treat for the senses.
With every slice, you unveil a beautiful tapestry of thin, tender crepes, seamlessly interwoven with delightful fillings. Imagine the first bite—a soft, irresistible cadence of textures. The cool creaminess blends with the slight chewiness of the crepes, while hints of sweetness awaken your taste buds. This layered creation becomes a celebration, perfect for special occasions, cozy family gatherings, or even a simple afternoon delight. Friends and family will marvel at your culinary prowess, asking for forkfuls and sharing bites, leaving them enchanted by the elegant charm of this cake.
Why You’ll Love This Layered Crepe Cake
Prepare to fall head over heels for this layered crepe cake, a timeless dessert that not only dazzles the eyes but also captivates the palate. The beauty of this cake lies in its versatility. You can infuse it with your preferred flavors, whether it’s a rich chocolate pastry cream, fresh fruits, or luscious whipped cream. This cake stands out because of its show-stopping layers and sophisticated appeal, making it the perfect dessert for various occasions—birthdays, anniversaries, or Sunday brunches with friends.
Moreover, while it may look like a grand undertaking, the layered crepe cake is surprisingly easy to make! The deliciously thin crepes allow for an enticing balance of texture, and each forkful delivers a satisfying blend of creamy, sweet, and slightly nutty flavors. With its stunning visual appeal, this creation can turn an ordinary day into a special one, encouraging indulgence and connection over a shared dessert.
Preparation Phase & Tools to Use
Crafting your layered crepe cake requires some essential tools, each playing a vital role in ensuring your creation comes out perfectly.
-
Non-stick Skillet: This is crucial for cooking crepes evenly and preventing them from sticking. Ensure you truly have a good non-stick pan to avoid any crepes tearing as you flip them.
-
Whisk: A sturdy whisk helps blend your batter, creating that luscious, smooth consistency that sets the foundation for your crepes.
-
Spatula: A thin spatula is your best friend for flipping crepes. It glides under the delicate layers without causing tears, achieving that flawless flip.
-
Cooling Rack: Once cooked, let your crepes cool on a wire rack to keep them from becoming soggy—this is essential to maintain their tender texture.
As you embark on this culinary adventure, keep these practical preparation tips in mind. Allow your batter to rest for at least 30 minutes; this allows the gluten to relax, leading to tender crepes. When heating your skillet, ensure it’s hot enough to cook the crepes quickly without browning them too much. The perfect crepe should remain golden and slightly speckled—a true sign of its readiness for stacking!
Ingredients for Layered Crepe Cake
To embark on this delicious journey, gather the following ingredients:
- 2 cups all-purpose flour
- 4 large eggs
- 2 1/2 cups milk
- 1/4 cup granulated sugar
- 1/4 teaspoon salt
- 1 teaspoon vanilla extract
- 2 tablespoons melted butter
- Frosting or filling of choice (such as whipped cream, pastry cream, or fresh fruits)
The flour gives your crepes structure, while the eggs contribute to the delightful fluffiness. Milk adds moisture, and sugar offers a touch of sweetness. Vanilla extract injects a rich aroma, and melted butter lends a glossy finish to the batter. Feel free to experiment! Substitute whole wheat flour for a nuttier taste, or use almond milk for a dairy-free option.
How to Make Layered Crepe Cake
Creating your layered crepe cake is simple and becomes more enjoyable with every step. Follow these directions for the sweetest success:
-
In a large bowl, whisk together the flour, eggs, milk, sugar, salt, vanilla extract, and melted butter until smooth. For a bit of extra fluffiness, let the batter rest for about 30 minutes.
-
Heat a non-stick skillet over medium heat. Lightly grease it with butter. Ensure it’s hot before proceeding.
-
Pour a small amount of batter (about 1/4 cup) into the skillet and swirl quickly to cover the bottom evenly. Cook until the edges appear golden, then gently flip and cook the other side for just a minute.
-
Repeat this process until all the batter is used, stacking the crepes on a plate. Don’t worry if the first few crepes aren’t perfect—each layer adds character!
-
Once the crepes have cooled to room temperature, layer them with your desired frosting or filling between each one. Get creative with your flavors; think ripe strawberries or rich chocolate mousse.
-
Chill the layered cake in the refrigerator for a few hours, or overnight if you can wait, before slicing and serving. It allows the flavors to meld and sets the structure for slicing.
Chef’s Notes & Helpful Tips
-
Make-ahead Tips: This cake is perfect for preparing the day before serving. As it sits in the fridge, the flavors deepen and the texture improves.
-
Cooking Alternatives: While a skillet is ideal, you can also use an electric crepe maker or a non-stick baking pan in the oven set to low heat for an unconventional approach. Watch your temperature closely!
-
Customization Ideas: Personalize your cake! Layer it with different fillings: think mascarpone with zesty lemon curd or a rich chocolate ganache. Decorate the top with fresh fruits or edible flowers for a vibrant touch.
Common Mistakes to Avoid
Here’s how to navigate common pitfalls to ensure your layered crepe cake dazzles:
-
Overcooking the Crepes: Avoid letting the crepes cook too long to prevent dryness. They should be soft and pliable, not firm.
-
Not Resting the Batter: Skipping the resting time can result in tougher crepes. Patience here pays off!
-
Cooking on Too High Heat: Always cook on medium heat. Too high can lead to uneven cooking and burned edges.
What to Serve With Layered Crepe Cake
Elevate your celebration with these accompanying delights:
-
Coffee or Espresso: The rich flavors perfectly contrast the sweetness of the cake, enhancing each bite.
-
Fruit Compote: A warm compote of mixed berries adds a vibrant, tangy layer.
-
Ice Cream: Vanilla or hazelnut ice cream melts beautifully on the cake, adding an icy touch to every forkful.
-
Whipped Cream: A dollop of freshly whipped cream lightens the dessert and adds airy sweetness.
-
Chocolate Sauce: Drizzle warm chocolate ganache over the top for a rich, decadent finish.
-
Fresh Berries: Serve with a side of fresh strawberries or raspberries for a refreshing contrast.
Storage & Reheating Instructions
Your layered crepe cake keeps well, making it great for later enjoyment. It lasts in the refrigerator for up to 3 days. Store it in an airtight container or cover it with plastic wrap to prevent it from absorbing unwanted odors. While some prefer it chilled, you can allow it to reach room temperature for softer frosting. For longer storage, freeze individual slices wrapped in plastic wrap and foil for up to 3 months. When ready to enjoy, let it thaw in the refrigerator overnight.
Estimated Nutrition Information
Approximate values per slice (1/12 of cake):
- Calories: 250
- Total Fat: 10g
- Carbohydrates: 35g
- Protein: 6g
- Sugar: 12g
(Disclaimer: Nutrition values may vary based on specific ingredients used and portion size.)
FAQs
-
Can I use a different flour?
Yes! You can substitute whole wheat or gluten-free flour to suit dietary needs. Just keep an eye on the batter consistency. -
What else can I use for filling?
Go wild! Consider nut butter, lemon curd, or even layered mousse. The possibilities are endless! -
Should I chill the cake before serving?
Definitely! Chilling firms up the layers and deepens the flavors, creating a more enjoyable texture. -
Can I make the crepes in advance?
Absolutely! You can store the cooked crepes in the refrigerator, separated by parchment paper for several days or freeze them for longer. -
How do I ensure perfect crepes every time?
Practice and patience are key! Maintain even heat, avoid overmixing the batter, and don’t be discouraged by the occasional imperfect crepe.
Conclusion
As you savor each delightful layer of your homemade crepe cake, you embrace the joy of sharing delectable moments with loved ones. This dessert transcends mere flavors; it embodies love, celebration, and tradition, inviting everyone to take part in its exquisite charm. So roll up those sleeves, blend that batter, and stack those crepes high! Your kitchen transforms into a haven of warmth and sweet indulgence, where every slice brings smiles and satisfaction. Enjoy the experience, and let this layered crepe cake fill your home with joy and delicious memories.
Print
Layered Crepe Cake
- Prep Time: 30 minutes
- Cook Time: 20 minutes
- Total Time: 50 minutes
- Yield: 12 servings 1x
- Category: Dessert
- Method: Stovetop
- Cuisine: French
- Diet: Vegetarian
Description
A delicate and indulgent layered crepe cake filled with creamy frosting and fresh fruits, perfect for special occasions.
Ingredients
- 2 cups all-purpose flour
- 4 large eggs
- 2 1/2 cups milk
- 1/4 cup granulated sugar
- 1/4 teaspoon salt
- 1 teaspoon vanilla extract
- 2 tablespoons melted butter
- Frosting or filling of choice (such as whipped cream, pastry cream, or fresh fruits)
Instructions
- In a large bowl, whisk together the flour, eggs, milk, sugar, salt, vanilla extract, and melted butter until smooth. Let the batter rest for about 30 minutes.
- Heat a non-stick skillet over medium heat. Lightly grease it with butter until its hot.
- Pour a small amount of batter (about 1/4 cup) into the skillet and swirl quickly to cover the bottom evenly. Cook until the edges appear golden, then gently flip and cook the other side for just a minute.
- Repeat this process until all the batter is used, stacking the crepes on a plate.
- Once the crepes have cooled, layer them with your desired frosting or filling between each one.
- Chill the layered cake in the refrigerator for a few hours, or overnight, before slicing and serving.
Notes
This cake can be made a day ahead for deeper flavors. Ensure to cool the crepes properly to maintain their texture.
Nutrition
- Serving Size: 1 slice
- Calories: 250
- Sugar: 12g
- Sodium: 200mg
- Fat: 10g
- Saturated Fat: 4g
- Unsaturated Fat: 6g
- Trans Fat: 0g
- Carbohydrates: 35g
- Fiber: 1g
- Protein: 6g
- Cholesterol: 70mg