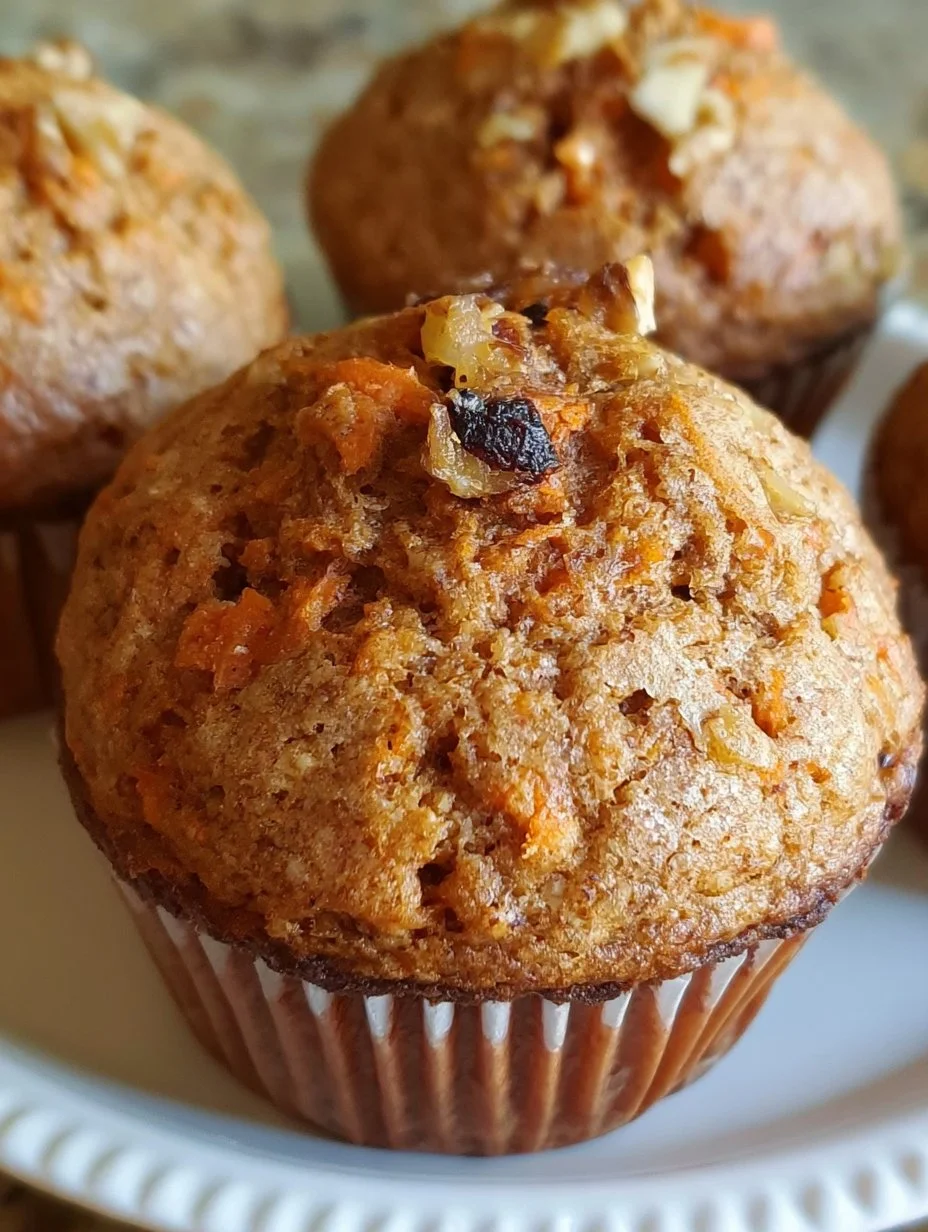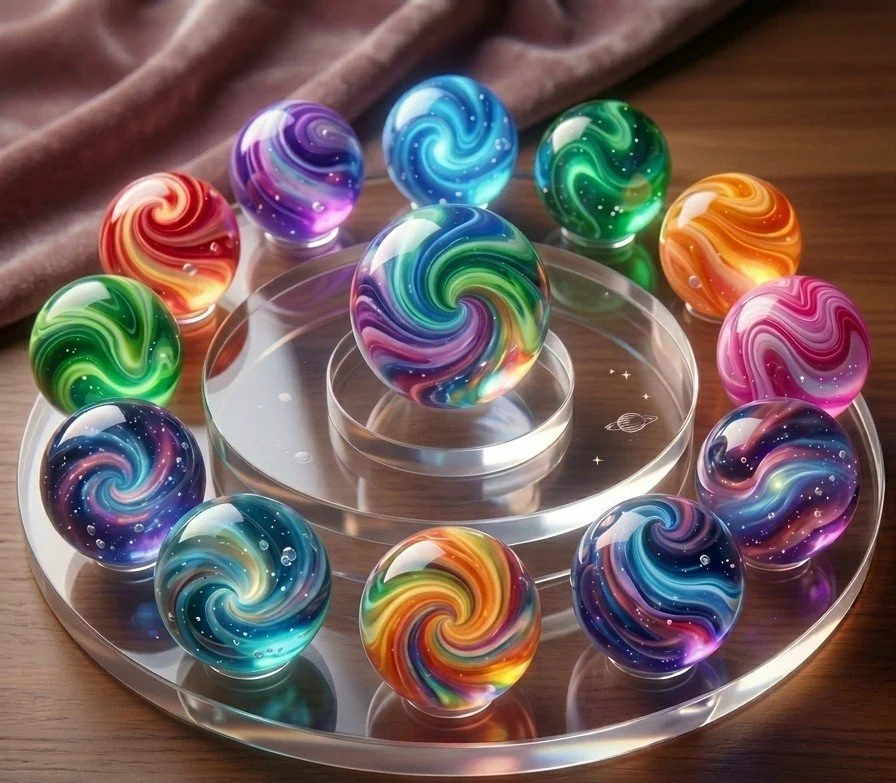
The sun pours through the kitchen window, casting a golden glow over the countertop as you gather the ingredients for what promises to be a delightful adventure in baking. The anticipation buzzes in the air as vibrant colors and irresistible aromas beckon. Each swirl of batter speaks of whimsy, reminding us of childhood joys and simple pleasures. Picture these Easy Colorful Swirl Bounce Balls: a vibrant confection that not only excites the eyes with its rainbow hues but also ignites the senses with every delectable bite. The texture, a perfect balance between soft and chewy, invites you to take just one more as you relish the burst of flavors dancing on your palate.
As you dive into the mixing and swirling, the experience turns into a mini celebration. What could be more heartwarming than creating these cheerful treats that bring smiles to the faces of children and adults alike? Whether it’s for a birthday party or a cozy family gathering, these bounce balls are guaranteed to steal the show—truly, they are an invitation to indulge in blissful nostalgia. As you roll the colorful dough between your palms, the excitement builds, each ball becoming a tiny masterpiece full of flavor and fun.
Why You’ll Love This Easy Colorful Swirl Bounce Balls
These Easy Colorful Swirl Bounce Balls are not just a treat; they are an experience. Their bright, cheerful colors provide a feast for the eyes, making them the perfect addition to any festive occasion. With a flavor profile that balances sweetness and a hint of buttery richness, these treats appeal to kids and adults alike, satisfying both the sweet tooth and the penchant for nostalgia. Each bite offers a harmonious layering of textures—soft yet sufficient resistance, giving way to a satisfying chew that leads you back for more.
Moreover, they are incredibly easy to make, requiring just a handful of simple ingredients that come together with delightful ease. This recipe encourages creativity—allow yourself to play with colors, flavors, and designs. These bounce balls stand out not only in their vibrancy and taste but also in their ability to spark joy and laughter, making them the ideal treat for birthday parties, school events, or even just a fun family kitchen day. They symbolize fun, togetherness, and the simple joy of sharing delicious treats with loved ones.
Preparation Phase & Tools to Use
Embarking on this colorful baking adventure requires just a few essential tools that make all the difference in achieving that perfect bounce texture. Let’s explore what you’ll need:
- Mixing Bowls: A set of sturdy mixing bowls is essential. They should be large enough to accommodate your ingredients while allowing for ample stirring without spills.
- Spatula or Mixing Spoon: A good spatula or mixing spoon helps to blend the colors seamlessly and ensures even distribution of flavors. Opt for a silicone spatula as it holds up well and is easy to clean.
- Baking Tray: A flat baking tray lined with parchment paper will provide a non-stick surface, making the rolling of bounce balls a cinch. Remember to give yourself enough space for each ball to spread.
- Coloring Agents: Food coloring is iconic here—whether liquid or gel, vibrant hues bring the bounce balls to life. You can also opt for natural dyes if you prefer.
- Sifter: If using powdered sugar or flour, a sifter will help create a smooth texture, ensuring your bounce balls are fluffy.
Practical Preparation Tips:
- Prep your workspace by organizing your ingredients before you start. Nothing disrupts the joyful flow of baking more than hunting for missing supplies!
- Set the oven to the correct temperature beforehand, allowing it to preheat for an efficient baking process.
Ingredients for Easy Colorful Swirl Bounce Balls
Let’s dive into the vibrant components of these delightful treats. While simplicity reigns here, each ingredient serves a distinct purpose:
- All-Purpose Flour: Forms the foundation of your bounce balls, creating that soft outer shell.
- Granulated Sugar: Sweetens the deal and helps achieve the desired chewy texture.
- Butter: Adds richness; opt for unsalted butter for better control over flavors. You can substitute it with margarine for a dairy-free version.
- Powdered Sugar: Provides a lovely sweetness without affecting the texture too heavily; it also aids in creating a slightly crisp exterior.
- Eggs: Help bind the mixture—vegan options like flax eggs can work wonders!
- Food Coloring: Bring those eye-catching swirls to life. Choose classic colors or get creative with pastels.
- Vanilla Extract: A splash of vanilla brings warmth and depth to the flavor profile.
How to Make Easy Colorful Swirl Bounce Balls
Embarking on your baking journey is as simple as following these easy steps:
- Preheat the Oven: Set your oven to 350°F (175°C) and line your baking tray with parchment paper, ensuring an easy release for your bounce balls.
- Mix the Dry Ingredients: In a bowl, whisk together the flour, powdered sugar, and a pinch of salt, ensuring an even blend that sets the stage for perfect texture.
- Cream the Butter and Sugar: In a separate bowl, cream the butter and granulated sugar together until you achieve a light and fluffy consistency. The color should turn pale yellow; this agitation incorporates air, lending a lovely lightness to the bounce balls.
- Incorporate the Eggs and Vanilla: Add the eggs one by one while mixing, followed by the vanilla extract, creating a luscious base that is both sweet and aromatic.
- Combine the Mixtures: Gradually fold in the dry ingredients into the wet mixture until well combined. Be gentle here; over-mixing can create tough bounce balls.
- Divide and Color: Separate the dough into different bowls depending on how many colors you want. Add a few drops of food coloring to each portion and knead until the colors burst forth vibrantly.
- Roll the Swirls: Take a tablespoon of each color and roll them into balls. Layer the colors on top of each other, then gently squish them together. Roll the combined portions into a new ball to create swirls that will captivate the eyes.
- Bake: Place the colorful balls onto the parchment-lined tray, giving them ample space. Bake for 10-12 minutes, or until they are firm to the touch but still soft inside—resist the urge to overbake.
- Cool and Enjoy: Let the bounce balls cool on the tray for a few minutes before transferring them to a wire rack. Once they’ve set a bit more, dive into the delightful flavors!
Chef’s Notes & Helpful Tips
- Make-Ahead Tips: Prepare the dough a day in advance and pop it in the fridge. When you’re ready, just roll and bake! This method also enhances the flavors.
- Cooking Alternatives: If you prefer a chewy texture, try using an air fryer for quick, evenly baked balls, cutting down on time without sacrificing flavor.
- Customization Ideas: Explore flavor variations by adding almond extract, coconut flakes, or even citrus zest for a refreshing twist.
Common Mistakes to Avoid
Understanding the potential pitfalls enhances your baking experience. Here’s how to make sure you avoid them:
- Overmixing the Dough: Resist the urge! Overmixing can lead to dense and tough bounce balls. Gently fold dry into wet and stop mixing as soon as combined.
- Ignoring Measurement Accuracy: Baking is a science. Too much flour will dry your bounce balls out; always measure carefully.
- Skipping the Cooling Step: Allowing the bounce balls to cool completely is crucial—they set as they cool and become perfectly chewy.
What to Serve With Easy Colorful Swirl Bounce Balls
Ready to delight in your bites? Here are some pairings that elevate your baking experience:
- Milk: A classic drink companion—deliciously creamy and the perfect balance against sweetness.
- Tea or Coffee: Their warmth and depth beautifully contrast with the bounce balls’ sweetness, perfect for an afternoon snack.
- Fruit Salads: Brighten the table with refreshing fruit options; their contrasting textures and flavors are wonderful companions.
- Ice Cream: A scoop of vanilla or berry ice cream on the side makes this a delightful dessert duo.
- Chocolate Dipping Sauce: Melted dark chocolate drizzled over the top adds indulgence and enhances the flavor.
- Nut Butters: A spread of creamy almond or peanut butter invites an enticingly nutty flavor to the mix.
- Whipped Cream: Add a layer of fluffiness that complements the bounce balls’ chewy texture.
Storage & Reheating Instructions
Storing your creations properly ensures that each bite remains fresh and delightful. Keep your bounce balls in an airtight container at room temperature for up to five days. If you want to store them for longer, pop them in the freezer where they can last for up to three months.
To reheat, simply let them sit at room temperature for a few minutes or warm them in the microwave for about 10-15 seconds for that freshly-baked experience.
Estimated Nutrition Information
Each bounce ball packs an approximate nutritional punch of 140 calories, 6g of fat, 20g of carbohydrates, and 1g of protein (values may vary with modifications). Remember, this is just a friendly estimate, and be sure to calculate based on your specific ingredients and portions.
FAQs
1. Can I make these bounce balls vegan? Absolutely! Substitute the eggs with flax eggs (1 tablespoon of ground flaxseed mixed with 2.5 tablespoons of water per egg) and use vegan butter instead.
2. What types of food coloring work best? Both gel and liquid food coloring work wonderfully. Gel tends to be more concentrated, so start with a drop and adjust as needed for vibrant hues.
3. Can I refrigerate the dough overnight? Yes, refrigerating the dough helps to meld flavors and makes it easier to handle. Just cover it tightly to prevent it from drying out.
4. How do I prevent my bounce balls from spreading too much? Ensure your baking tray is cool before adding the dough and don’t over-bake them, as they will continue to firm up after being removed from the oven.
5. Can I add other flavors or mix-ins? Feel free to experiment! Adding in mini chocolate chips, sprinkles, or nuts can enhance both flavor and texture while giving your bounce balls an exciting twist.
Conclusion
As you savor each Easy Colorful Swirl Bounce Ball, take a moment to relish the love and joy that goes into creating such a delightful treat. Whether you share them with loved ones during celebrations or enjoy them in peaceful solitude, these bounce balls serve as a delicious reminder of life’s simplest pleasures. So don your apron, gather those cheerful ingredients, and let the magic of baking fill your kitchen with warmth, color, and happiness. Your taste buds will thank you, and your heart will swell with joy!
Print
Easy Colorful Swirl Bounce Balls
- Prep Time: 15 minutes
- Cook Time: 12 minutes
- Total Time: 27 minutes
- Yield: 20 servings 1x
- Category: Dessert
- Method: Baking
- Cuisine: American
- Diet: Vegetarian
Description
Delightful, soft and chewy colorful bounce balls that excite the senses and bring joy to any occasion.
Ingredients
- 2 cups All-Purpose Flour
- 1 cup Granulated Sugar
- ½ cup Unsalted Butter, softened
- 1 cup Powdered Sugar
- 2 large Eggs (or 2 flax eggs for vegan option)
- Food Coloring
- 1 tsp Vanilla Extract
- A pinch of Salt
Instructions
- Preheat the oven to 350°F (175°C) and line a baking tray with parchment paper.
- Mix the dry ingredients: In a bowl, whisk together flour, powdered sugar, and salt.
- Cream the butter and granulated sugar until light and fluffy.
- Incorporate the eggs one by one, followed by the vanilla extract.
- Combine the wet and dry ingredients until well mixed.
- Divide the dough into bowls and add food coloring, kneading until vibrant.
- Roll tablespoon-sized balls with different colors and squish together to form swirls.
- Bake for 10-12 minutes, until firm to the touch but still soft inside.
- Cool on a wire rack before enjoying!
Notes
You can prepare the dough a day in advance and refrigerate for better flavor. Use an air fryer for a chewier texture.
Nutrition
- Serving Size: 1 ball
- Calories: 140
- Sugar: 10g
- Sodium: 50mg
- Fat: 6g
- Saturated Fat: 4g
- Unsaturated Fat: 2g
- Trans Fat: 0g
- Carbohydrates: 20g
- Fiber: 0g
- Protein: 1g
- Cholesterol: 30mg