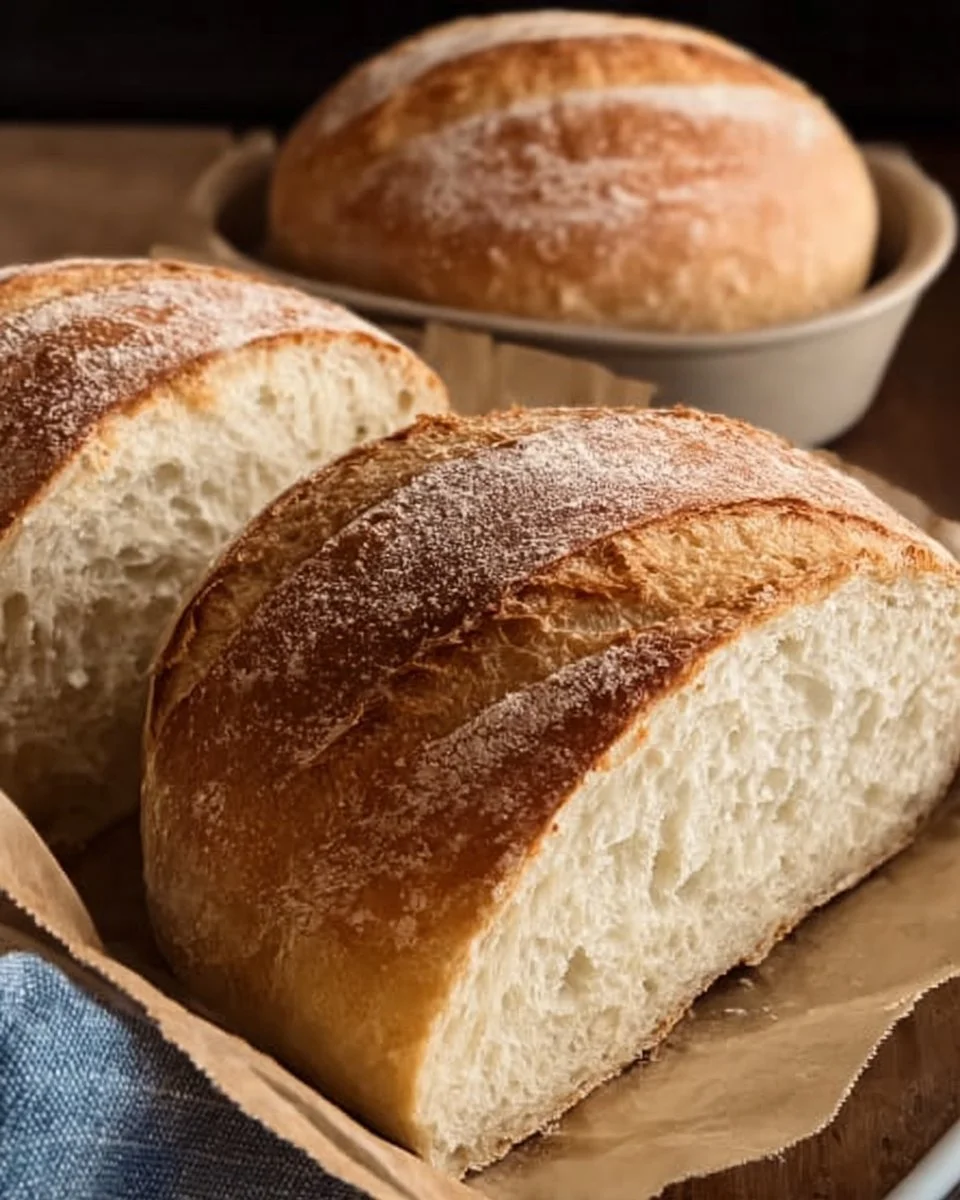
The aroma of freshly baked bread wafts through the house, wrapping you in a warm embrace that whispers of home and comfort. Imagine slicing into a loaf that is golden on the outside, with a crust so invitingly crispy, it crackles beneath your fingers. The moment you break a piece off, steam escapes, revealing a soft, airy interior. You can practically taste the anticipation as you slather a pat of creamy butter across the still-warm slice—its richness melting effortlessly into the soft crumb. This is more than just bread; it’s an experience, a memory waiting to unfold at your dining table.
When it comes to homemade bread, few delights equal the charm of a no-knead sandwich bread. This recipe may be simple, but the flavor is anything but basic. Each bite offers a subtle sweetness with the barest hint of earthiness. It beckons to be adorned with your favorite spreads, but let’s be honest; it’s just as delightful on its own. The texture is supremely tender yet firm enough to hold up against your favorite toppings. Perfect for sandwiches, toast, or simply dunking into a hearty soup, it’s versatile enough to complement any meal.
Are you ready to bring the taste of freshly baked bread into your home with minimal effort? Let’s dive deep into why this homemade no-knead sandwich bread is a must-try!
Why You’ll Love This Homemade No-Knead Sandwich Bread
First and foremost, this recipe requires no fancy techniques or tools. Just a few basic ingredients come together to create something truly extraordinary. The best part? You can mix the dough and leave it to rise overnight—no intense kneading required. Imagine waking up to the fragrance of warm bread, awaiting your creativity.
This bread’s versatility shines through in its ability to adapt to various occasions. Breakfast toast? Yes, please! A sandwich for lunch? Absolutely! Or even a side for that homemade soup you’ve been eyeing. With every bite, you feel the love and care that went into making such a simple yet breathtaking centerpiece for your meals.
Preparation Phase & Tools to Use
Before embarking on this no-knead bread adventure, gather your tools. While they may seem humble, each plays a vital role in crafting the perfect loaf:
- Large Mixing Bowl: This space allows you to comfortably mix and rest your dough.
- Plastic Wrap: Covering your dough creates a warm, humid environment crucial for yeast activation.
- Dutch Oven: Essential for trapping steam, the heavy pot cooks the bread evenly, giving it that desired crispy crust.
- Instant Read Thermometer (optional): This tool helps in checking the bread’s doneness, ensuring it’s perfectly baked.
Preparation is key, and following some simple steps can elevate your bread-making game. Ensure your water is warm, ideally around 100°F (38°C), to activate the yeast without killing it.
Ingredients for Homemade No-Knead Sandwich Bread
Let’s take a look at the ingredients that turn this simple recipe into a delightful experience:
-
3 cups all-purpose flour: The heart of your loaf, this flour lays the foundation for texture and flavor. You can substitute whole wheat flour for a nuttier flavor or gluten-free flour for a gluten-free option.
-
1/4 teaspoon instant yeast: This tiny powerhouse helps your dough rise beautifully without needing a vigorous kneading session.
-
1 teaspoon salt: Not just for flavor, salt strengthens gluten and enhances the overall taste, making each bite more satisfying.
-
1 1/2 cups warm water: It acts as the hydration force, merging with the dry ingredients to create your dough.
Each ingredient plays its part in this delicious performance, setting the stage for a loaf that’s unbelievably scrumptious.
How to Make Homemade No-Knead Sandwich Bread
Creating this remarkable bread involves simple steps that yield extraordinary results:
-
In a large bowl, whisk together 3 cups of all-purpose flour, 1/4 teaspoon of instant yeast, and 1 teaspoon of salt. The dry ingredients should blend seamlessly, creating a uniform base.
-
Pour in 1 1/2 cups of warm water and use a wooden spoon to stir until a shaggy dough forms. It may look messy—that’s perfectly fine!
-
Cover the bowl tightly with plastic wrap. Let it sit at room temperature for 12 to 18 hours. This slow fermentation develops flavor and texture.
-
Preheat your oven to 450°F (230°C). Place your Dutch oven inside before the timer goes off; this will ensure it’s sizzling hot when you pour in the dough.
-
Once the dough has risen beautifully, carefully uncover the bowl. Generously flour a clean surface and transfer the dough. Shape it gently into a round loaf, taking care not to deflate it too much.
-
Using oven mitts, remove the preheated Dutch oven. Place the shaped dough inside, cover it, and bake for 30 minutes. This initial bake sets your crust.
-
After 30 minutes, remove the lid and continue to bake for an additional 15 minutes, or until the top is a luscious golden brown.
-
Let the freshly baked bread cool on a wire rack for about 30 minutes before slicing. This waiting period allows the crumb to set, ensuring each slice holds its shape beautifully.
Chef’s Notes & Helpful Tips
-
Make-ahead tips: You can prepare the dough a day in advance. The longer it rests, the more developed the flavor becomes.
-
Cooking alternatives: If you don’t own a Dutch oven, consider using a heavy baking sheet. Just create steam by placing a pan of water on the bottom rack of the oven.
-
Customization ideas: Experiment with add-ins like herbs, cheese, or spices for a unique flavor. A sprinkle of garlic powder or chopped rosemary can bring your loaf to life.
Common Mistakes to Avoid
Bread-making should feel approachable, yet it comes with common traps that could hinder your success:
-
Not letting it rest enough: If the dough doesn’t rise sufficiently, you risk getting a denser bread. Patience is key—allow it to rise for the full time recommended.
-
Using cold ingredients: Warm water helps to activate the yeast. Colder ingredients can slow down the process and yield disappointing results.
-
Fear of dough stickiness: If the dough feels sticky, remember it will transform during baking into a moist and tender crumb.
What to Serve With Homemade No-Knead Sandwich Bread
The versatility of this bread means it pairs wonderfully with various accompaniments. Here are a few delicious ideas:
- Avocado Toast: Spread ripe avocado on a slice and sprinkle with salt and pepper. A breakfast dream!
- Hearty Soups: Think creamy tomato or savory minestrone. Your bread will soak up all the delicious flavors.
- Classic Grilled Cheese: Melted cheese adds a rich creaminess that contrasts beautifully with the crusty exterior of the bread.
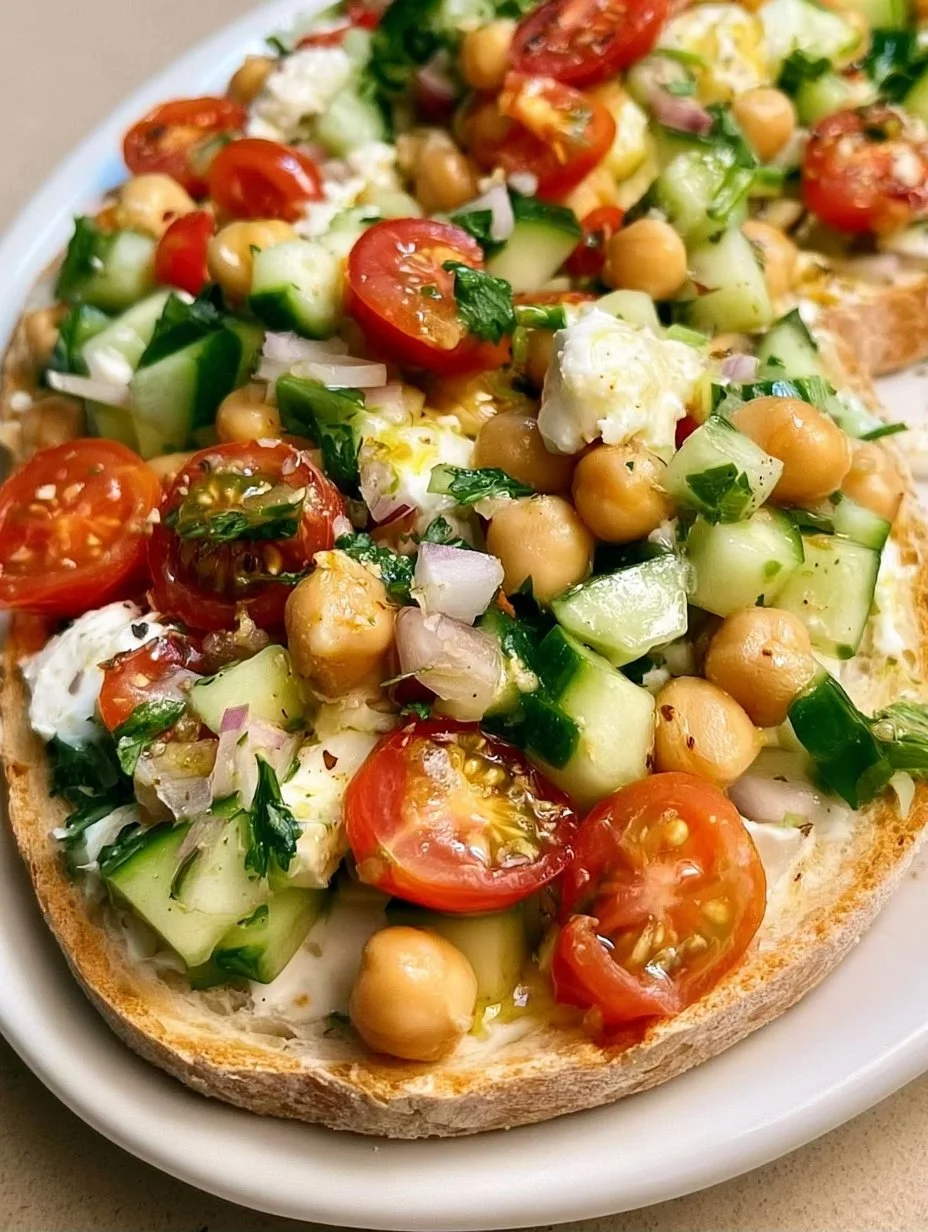
- Bruschetta: Top toasted slices with diced tomatoes, basil, and balsamic for a fresh, summery dish.
- Peanut Butter and Banana: A childhood favorite that’s both nutritious and satisfying.
- Egg Salad Sandwiches: Use the bread to cradle fluffy egg salad for a delightful lunch.
Storage & Reheating Instructions
To maintain the freshness of your loaf, consider these storage recommendations:
-
Room Temperature: Wrap in a kitchen towel and store in a bread box. This will keep it fresh for about 2–3 days.
-
Refrigerator: While not recommended for long-term storage (it can dry out), if you must, keep it in an airtight bag.
-
Freezer: Wrap tightly in plastic wrap, then foil, and freeze for up to 3 months. To reheat, let it thaw at room temperature, then pop it in the oven at 350°F (175°C) for a few minutes to revive its texture.
Estimated Nutrition Information
Each slice of this delightful homemade no-knead sandwich bread contains approximately:
- Calories: 100
- Fat: 0.5g
- Carbohydrates: 21g
- Protein: 3g
Note: Nutrition values can vary depending on specific ingredients used.
FAQs
-
Can I use whole wheat flour instead of all-purpose flour?
- Absolutely! However, adjust the water slightly, since whole wheat flour absorbs more moisture.
-
Why is my bread dense?
- A denser loaf may result from under-proofing. Ensure the dough rises adequately before baking.
-
How can I achieve a crustier bread?
- For an extra crispy crust, place a pan of water at the bottom of the oven while baking. This creates steam.
-
What should I do if my dough didn’t rise?
- This could be due to inactive yeast or less than optimal temperatures. Ensure your yeast is fresh and rise conditions are warm.
-
How do I tell if my bread is fully baked?
- The bread should have a golden-brown crust and sound hollow when tapped on the bottom. An instant-read thermometer should read at least 200°F (93°C).
Homemade no-knead sandwich bread is not just a recipe—it’s an invitation to embrace the joy of baking and savor the warmth that fills your home. As you embark on this delightful journey, anticipate the satisfying crunch of the crust and the soft, flavorful interior that awaits you. Each loaf carries the heart of togetherness, perfect for sharing with loved ones or simply indulging yourself with a comforting slice. So tie on your apron, gather your ingredients, and get ready to experience the joy of creating something utterly delicious. Happy baking!
Print
Homemade No-Knead Sandwich Bread
- Prep Time: 15 minutes
- Cook Time: 45 minutes
- Total Time: 60 minutes
- Yield: 1 loaf 1x
- Category: Bread
- Method: Baking
- Cuisine: American
- Diet: Vegetarian
Description
Discover the joy of baking with this simple yet flavorful no-knead sandwich bread, perfect for everything from toast to hearty meals.
Ingredients
- 3 cups all-purpose flour
- 1/4 teaspoon instant yeast
- 1 teaspoon salt
- 1 1/2 cups warm water
Instructions
- Whisk together 3 cups of all-purpose flour, 1/4 teaspoon of instant yeast, and 1 teaspoon of salt in a large bowl.
- Pour in 1 1/2 cups of warm water and stir until a shaggy dough forms.
- Cover the bowl tightly with plastic wrap and let it sit at room temperature for 12 to 18 hours.
- Preheat your oven to 450°F (230°C) and place your Dutch oven inside.
- Flour a clean surface generously and gently shape the risen dough into a round loaf.
- Remove the preheated Dutch oven and place the shaped dough inside, then cover it and bake for 30 minutes.
- Uncover and continue to bake for an additional 15 minutes until golden brown.
- Cool on a wire rack for about 30 minutes before slicing.
Notes
For added flavor, consider adding herbs, cheese, or spices. Make-ahead tips: The dough can be prepared a day in advance for enhanced flavor.
Nutrition
- Serving Size: 1 slice
- Calories: 100
- Sugar: 0g
- Sodium: 200mg
- Fat: 0.5g
- Saturated Fat: 0g
- Unsaturated Fat: 0g
- Trans Fat: 0g
- Carbohydrates: 21g
- Fiber: 1g
- Protein: 3g
- Cholesterol: 0mg