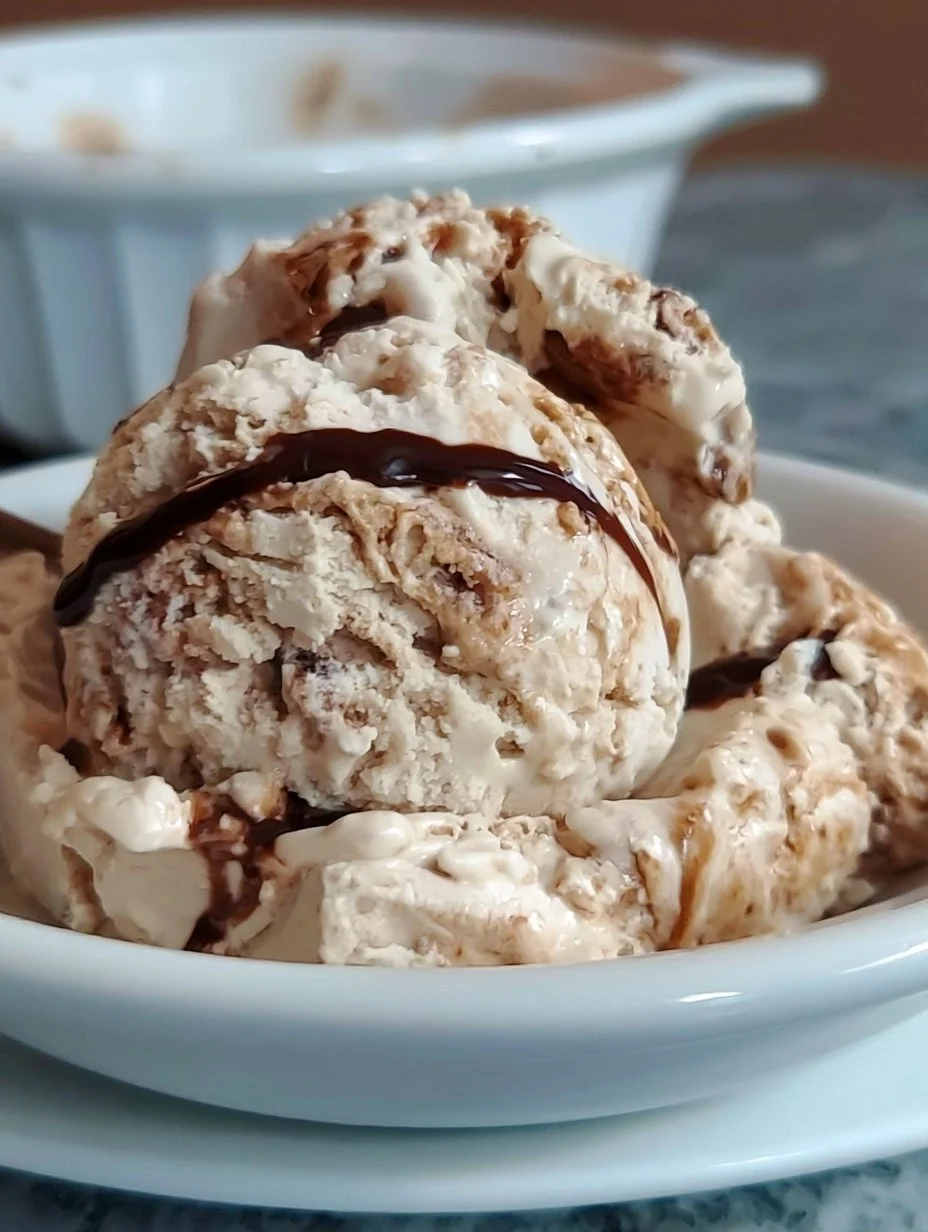
Indulging in a sweet treat can turn an ordinary day into a celebration, and nothing does it quite like a scoop of homemade No Churn Coffee Ice Cream. Imagine the cozy aroma of freshly brewed coffee mingling with the warm essence of creamy goodness, enveloping your senses in a delightful embrace. Each spoonful melts away, delivering the perfect blend of rich coffee flavor and a luxurious, velvety texture that dances on your tongue, leaving you longing for more. The beauty of this dessert lies in its simplicity; no ice cream maker required, making it accessible for everyone, from novice bakers to seasoned chefs.
The experience of enjoying your own batch of No Churn Coffee Ice Cream is nothing short of magical. Picture this: a sunny afternoon, a scoop of glistening coffee ice cream nestled in a dish, the sun casting a warm glow on your delight, and a gentle breeze carrying the sweet aroma of summer. With each bite, you experience a symphony of flavors that awaken your senses, blending the deep notes of coffee with the rich sweetness of cream. The smooth, creamy texture envelops your palate, instantly transporting you to a cozy café nestled on a bustling street corner.
Why You’ll Love This No Churn Coffee Ice Cream
This No Churn Coffee Ice Cream stands out as a true gem among summer desserts, offering an irresistible combination of creamy sweetness with a robust coffee kick. The result is a delightful treat that doesn’t just satisfy your sweet tooth; it envelops you in a comforting hug from the very first taste. Whether it’s a hot summer day or a cozy winter evening, a scoop of this ice cream feels like a celebration.
The benefits are numerous. Not only is this ice cream incredibly easy to make, but it also requires few ingredients, eliminating the fuss without sacrificing flavor. The use of heavy cream creates a luxuriously smooth mouthfeel, while the sweetened condensed milk adds a luscious sweetness that creates a harmonious balance. Additionally, the instant coffee provides a bold flavor that coffee lovers will appreciate. This dessert shines during gatherings, parties, or simply as a treat for yourself on a quiet night at home.
Preparation Phase & Tools to Use
To create this heavenly No Churn Coffee Ice Cream, you only need a few essential tools.
- Mixing Bowls: A couple of medium-sized mixing bowls allow you to work seamlessly between the coffee mixture and the whipped cream.
- Whisk: A standard whisk or electric mixer is crucial for achieving those beautiful, fluffy whipped cream peaks.
- Spatula: A sturdy spatula will be your best friend when it comes to folding the whipped cream into the coffee mixture, ensuring you maintain that airy texture.
- Freezer-safe Container: A reliable container is key for freezing your ice cream. Airtight containers help avoid freezer burn and maintain creaminess.
Preparation tips include taking special care when whipping the cream. Ensure your bowl and whisk are both cold; this simple trick promotes more volume and better texture.
Ingredients for No Churn Coffee Ice Cream
-
2 cups heavy cream: This is the base of your ice cream, offering a creamy texture that’s hard to resist. You could substitute it with coconut cream for a vegan option, though it will alter the flavor somewhat.
-
1 cup sweetened condensed milk: Bringing sweetness and richness, this ingredient creates that indulgent ice cream texture. If you’re feeling adventurous, try using a flavored condensed milk, like caramelized or chocolate.
-
2 tablespoons instant coffee: The star of the show, this delivers the bold coffee flavor. You can swap it for espresso powder or finely ground regular coffee if you prefer a different brewing method.
-
1 teaspoon vanilla extract: Adding warmth and depth, vanilla rounds out the flavors beautifully. Use pure vanilla extract for the best flavor, or try experimenting with other extracts.
-
Pinch of salt: Just a touch enhances sweetness and balances the coffee bitterness, bringing all flavors together.
How to Make No Churn Coffee Ice Cream
-
In a mixing bowl, whisk together the sweetened condensed milk, instant coffee, vanilla extract, and a pinch of salt until smooth and well combined. This mixture should feel rich and velvety, with a deep coffee aroma wafting up to greet you.
-
In a separate bowl, whip the heavy cream with an electric mixer until stiff peaks form. This should take just a few minutes—watch for that perfect airy texture that will give your ice cream its signature fluffiness.
-
Gently fold the whipped cream into the coffee mixture using your spatula. Start by adding one-third of the whipped cream to lighten the coffee mixture, then gently combine the rest, ensuring not to deflate the cream.
-
Transfer the mixture to a freezer-safe container and smooth the top with your spatula. This step is important for achieving a beautiful presentation once frozen.
-
Cover your container tightly and freeze for at least 4 hours or until firm. The longer you let it sit, the more the flavors meld together, creating a captivating coffee experience.
-
Scoop into bowls, and enjoy your delightful homemade coffee ice cream! Each scoop promises creamy, coffee-infused bliss that will transport you to your favorite café with every bite.
Chef’s Notes & Helpful Tips
-
Make-ahead tips: You can whip this up in advance, making it the perfect dessert for parties or weekend gatherings. It remains delicious in the freezer for up to 2 weeks, but trust us, it won’t last that long!
-
Cooking alternatives: If you have an ice cream maker, feel free to use it to churn this mixture for an even creamier texture. Just follow the manufacturer’s instructions after combining your ingredients.
-
Customization ideas: Get creative! Consider adding chocolate chips, crushed nuts, or a swirl of caramel for an added layer of flavor. Experimenting with spices like cinnamon or a splash of espresso will elevate your ice cream to gourmet status!
Common Mistakes to Avoid
One of the most frequent mistakes people make is not incorporating the whipped cream correctly. Folding should be gentle—this preserves the airiness and lightness that makes your ice cream dreamy. Also, ensure that your condensed milk mixture is well blended before adding it to the whipped cream; any lumps will disturb the texture we all love. Lastly, don’t skip the freezing time! Rushing this process leads to a less-than-ideal icy texture instead of that perfect creaminess.
What to Serve With No Churn Coffee Ice Cream
Pair this delectable dessert with a variety of treats that enhance its rich flavors:
-
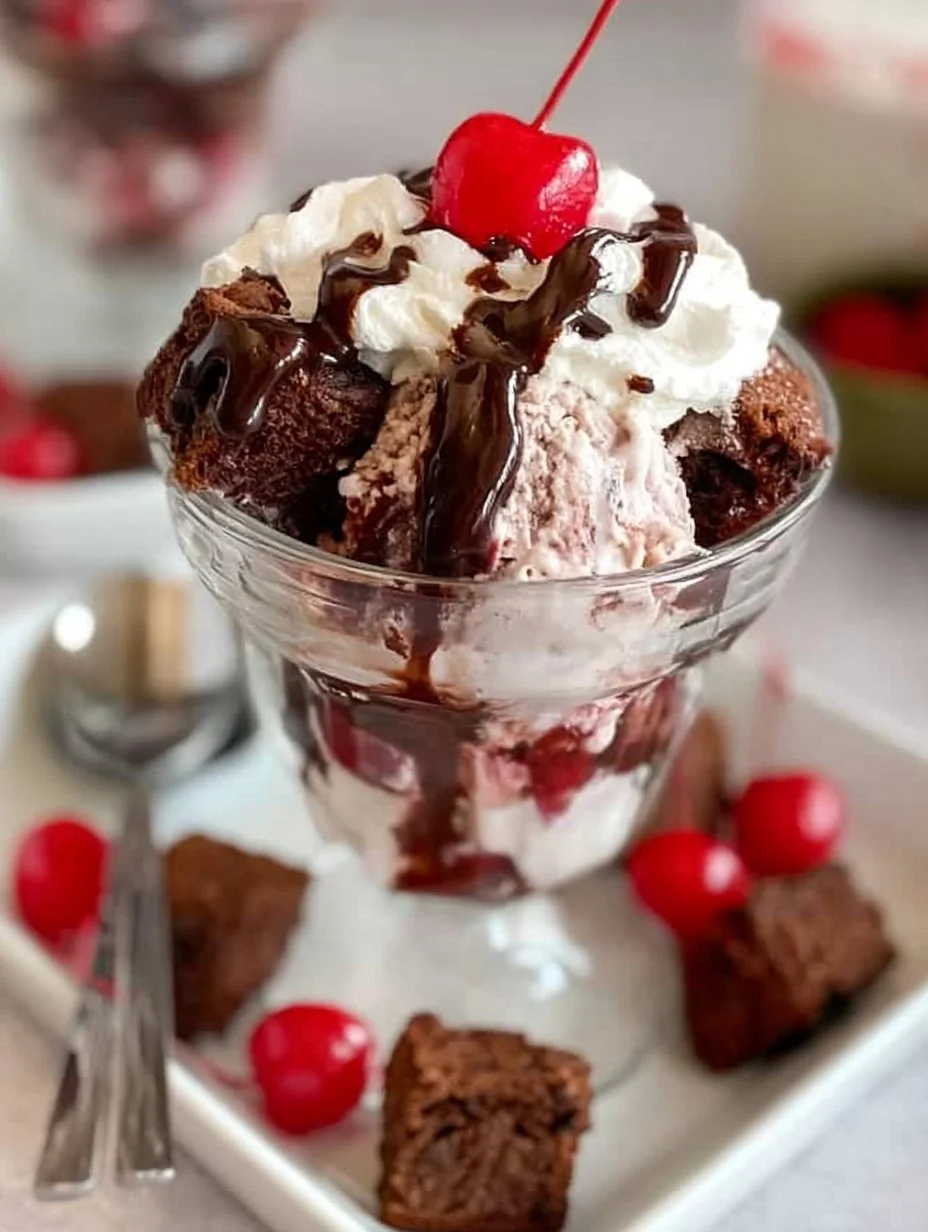
Chocolate Brownies: The fudgy richness of brownies complements the creaminess of coffee ice cream, creating a heavenly dessert duo that’s hard to resist.
-
Chocolate Chip Cookies: Warm, gooey cookies are a classic that harmonizes perfectly with a cold scoop, creating a textural contrast that excites the palate.
-
Waffles or Pancakes: Add a scoop on top of warm waffles or pancakes, drizzling a bit of maple syrup over it for a delightful breakfast-for-dessert option.
-
Affogato Style: A hot shot of espresso poured over a scoop of ice cream creates a gloriously decadent treat that’s both hot and cold—it’s an experience!
-
Fruits: Fresh berries or banana slices can add a burst of freshness to the richly flavored ice cream, balancing out the sweetness.
-
Chocolate Sauce: Drizzling a rich chocolate sauce adds indulgence and a beautiful visual contrast to your ice cream.
-
Nuts: Toasted, chopped nuts like almonds or hazelnuts can add a delightful crunch and enhance the coffee flavor beautifully.
-
Cinnamon Dusting: A light dusting of cinnamon can elevate the flavor profile, creating an aromatic finish every coffee lover will adore.
Storage & Reheating Instructions
Store your No Churn Coffee Ice Cream in an airtight container in the freezer to prevent ice crystals and maintain flavor. It can be kept for up to two weeks, although it’s best enjoyed fresher. If it gets too hard after storing, simply let it sit at room temperature for a few minutes before scooping. Never refreeze melted ice cream; it can ruin the texture.
Estimated Nutrition Information
Each serving has approximately 220-250 calories, with around 15 grams of fat and 20 grams of sugar. Please note that the nutrition values may vary based on ingredient brands and serving sizes.
FAQs
1. Can I use decaf coffee in this recipe?
Absolutely! Using decaf coffee allows you to enjoy the flavor without the caffeine kick, making it a great evening treat.
2. Why does my whipped cream collapse?
If your whipped cream collapses, it’s likely that it has been over-whipped. Stop whipping right when you see stiff peaks form, and remember to fold it gently into your coffee mixture.
3. Can I add other flavors?
Yes! Try infusing flavors like hazelnut or mocha by mixing in flavored syrups or extracts in place of some vanilla. Adding cocoa powder can also create a chocolate coffee ice cream.
4. Why do I need to fold the whipped cream?
Folding incorporates air into the mixture, which keeps the ice cream light and fluffy. You want to mix efficiently without losing that airy texture.
5. Is there a dairy-free version?
Of course! Use coconut cream instead of heavy cream and a dairy-free condensed milk alternative for a delicious vegan treat.
In a world filled with fleeting desserts, homemade No Churn Coffee Ice Cream captures the heart and soul of indulgence. Whether it’s enjoyed alone or shared with friends on a balmy evening, it invites you to slow down and savor the moment. The rich coffee blended with creamy sweetness offers an experience that warms the heart and satisfies the soul. So go ahead, give this recipe a try and transform your kitchen into a haven of rich, coffee-flavored dreams. Your taste buds will thank you!
Print
No Churn Coffee Ice Cream
- Prep Time: 15 minutes
- Cook Time: 0 minutes
- Total Time: 255 minutes
- Yield: 6 servings 1x
- Category: Dessert
- Method: No Churn
- Cuisine: American
- Diet: Vegetarian
Description
A smooth and creamy no churn coffee ice cream that brings together rich coffee flavor and velvety texture, perfect for warm afternoons or cozy nights.
Ingredients
- 2 cups heavy cream
- 1 cup sweetened condensed milk
- 2 tablespoons instant coffee
- 1 teaspoon vanilla extract
- Pinch of salt
Instructions
- Whisk together the sweetened condensed milk, instant coffee, vanilla extract, and salt until smooth.
- Whip the heavy cream with an electric mixer until stiff peaks form.
- Fold the whipped cream into the coffee mixture gently.
- Transfer the mixture to a freezer-safe container and smooth the top.
- Cover tightly and freeze for at least 240 minutes or until firm.
- Scoop into bowls and enjoy!
Notes
For best results, ensure the bowl and whisk are cold when whipping the cream. This ice cream keeps well in the freezer for up to 2 weeks.
Nutrition
- Serving Size: 1 serving
- Calories: 250
- Sugar: 20g
- Sodium: 100mg
- Fat: 15g
- Saturated Fat: 10g
- Unsaturated Fat: 5g
- Trans Fat: 0g
- Carbohydrates: 27g
- Fiber: 0g
- Protein: 3g
- Cholesterol: 60mg