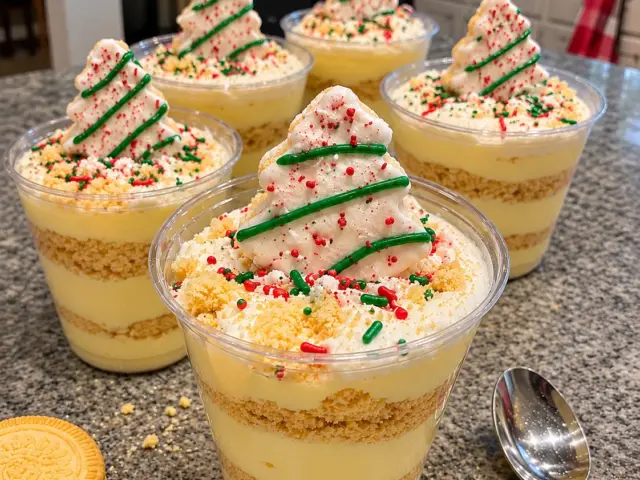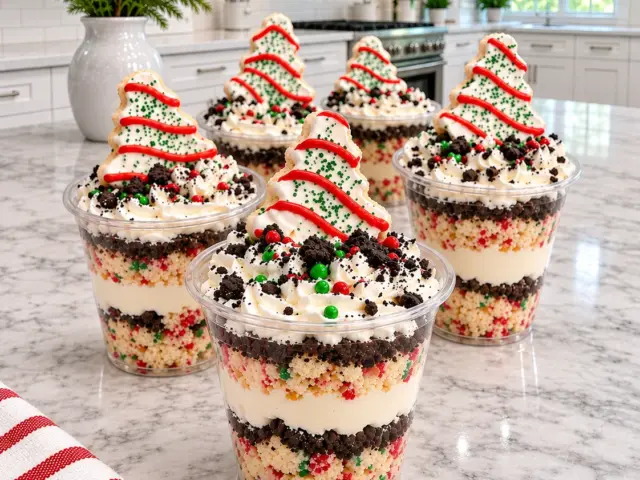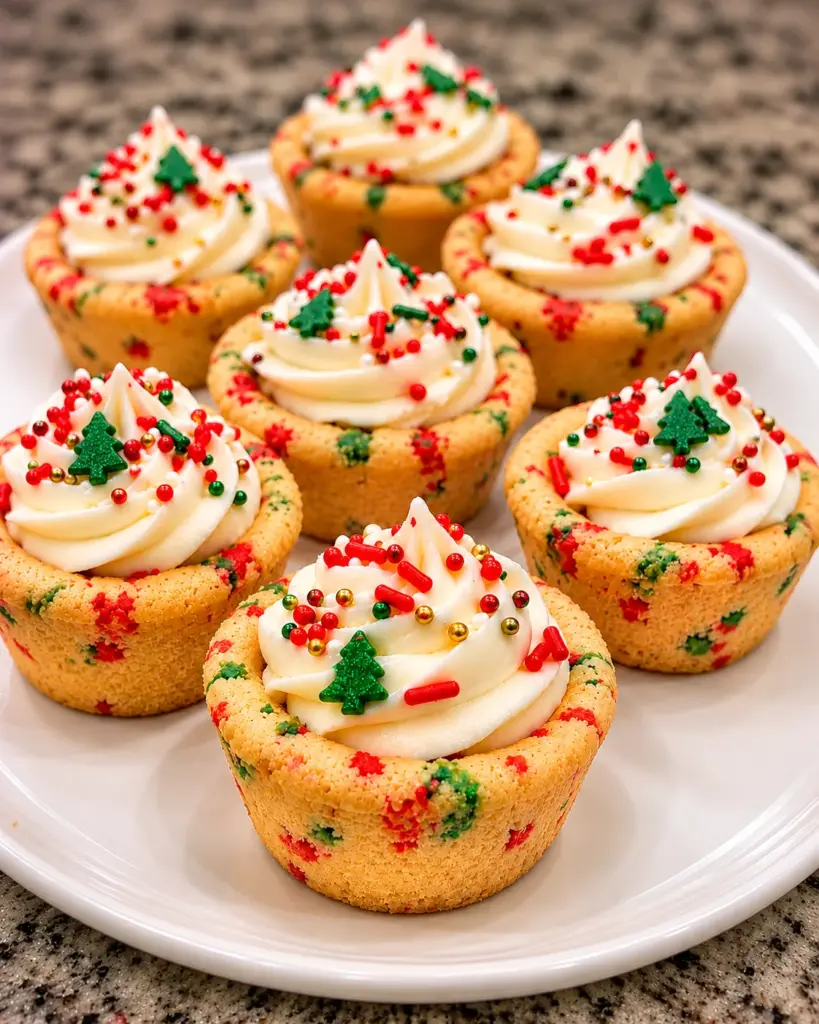
Christmas Cookie Cups turn a soft vanilla sprinkle cookie into an edible little bowl for a generous swirl of buttercream. The golden cookie edges, red and green flecks, and white frosting look festive on a dessert tray, while the recipe uses familiar baking ingredients and a standard muffin pan. Make the cookie shells ahead, then fill and decorate them when you are ready to serve.
These are baked cookie cups, not cupcakes. The dough is pressed into the base and sides of a muffin tin, baked until lightly golden, and gently pressed again while warm to keep the centers open. Once completely cool, each cup holds a tall swirl of vanilla frosting and a shower of holiday sprinkles. The result is easy to pick up and much less fussy than cutting a larger cake at a party.
Why You’ll Love These Christmas Cookie Cups
The sprinkle-studded dough gives every bite the buttery taste of a homemade sugar cookie. A thick rim provides a firm edge to hold while the center stays tender. The vanilla buttercream adds a creamy finish, and the colors come from sprinkles mixed through the dough rather than a complicated decorating technique.
They also fit holiday planning well. Bake the shells a day or two early, store them airtight, and pipe the frosting shortly before a gathering. You can use a piping bag for a bakery-style swirl or a spoon for a simpler finish. Small green candy trees are optional; the red, green, and gold sprinkles alone make the cups look ready for Christmas.
Ingredients for Christmas Cookie Cups
For the cookie cups
- 2½ cups (300 g) all-purpose flour
- 1 teaspoon baking powder
- ½ teaspoon salt
- ¾ cup (170 g) unsalted butter, softened
- 1 cup (200 g) granulated sugar
- 1 large egg
- 2 teaspoons vanilla extract
- ½ cup (about 85 g) red and green sprinkles
For the frosting
- ½ cup (113 g) unsalted butter, softened
- 2 cups (240 g) powdered sugar
- 2 tablespoons (30 ml) heavy cream or milk
- 1 teaspoon vanilla extract
For decorating
- Extra red, green, and gold sprinkles
- Small green candy trees or other holiday candies, optional
Use softened butter that yields to a finger but is still cool and holds its shape. Melted or very warm butter makes the dough spread more, which can close the hollow center as the cookies bake. For the ½ cup of sprinkles mixed into the dough, sturdy jimmies usually hold their color better than tiny nonpareils. Save the finer and shinier sprinkles for the frosting, where their colors can be seen clearly.
Measure the flour by weight if possible. If using cups, spoon flour into the measuring cup and level it without packing. Too much flour produces dry, crumbly shells; too little flour can make them spread and lose their cup shape. The 1 teaspoon baking powder adds a little lift, while ½ teaspoon salt balances the sweetness. The egg binds the dough and the vanilla gives both the cookies and frosting their familiar holiday-bakery aroma.
Equipment and Pan Size
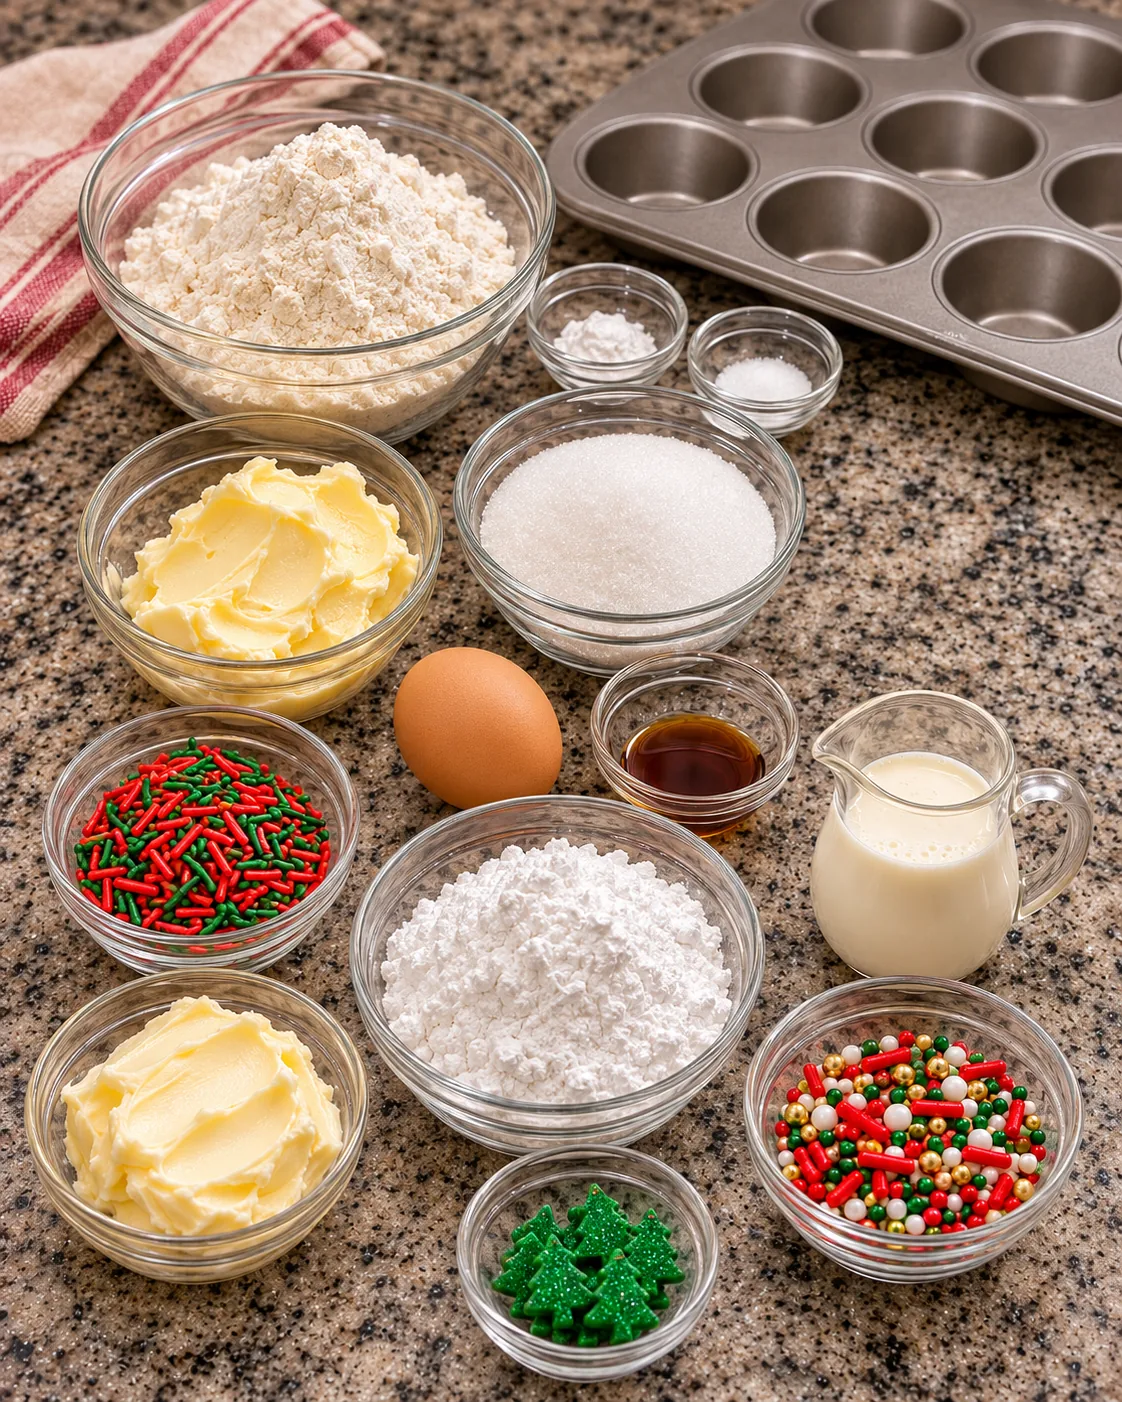
Use a standard 12-cup muffin pan, not a mini muffin pan. Each well should hold about one-twelfth of the dough, roughly a generous ¼ cup or 65 to 70 g. You will also need two mixing bowls, an electric mixer or sturdy spoon, a small measuring cup or rounded spoon for pressing the centers, and a cooling rack. A piping bag with a large star tip makes the swirls in the photo; a zip-top bag with one corner snipped works too.
Lightly grease the muffin wells, including their sides. A thin coating helps the cups release without tearing the delicate rims. Avoid paper liners because the dough needs contact with the pan to keep its cup shape. If your pan has a dark nonstick finish, start checking the cookies at the early end of the bake time because the edges may brown sooner.
Instructions: How to Make Christmas Cookie Cups
1. Mix and chill the cookie dough
Whisk the 2½ cups (300 g) all-purpose flour, 1 teaspoon baking powder, and ½ teaspoon salt in a medium bowl. In a larger bowl, beat the ¾ cup (170 g) unsalted butter, softened, with the 1 cup (200 g) granulated sugar until pale and creamy, about 2 to 3 minutes. Beat in the 1 large egg and 2 teaspoons vanilla extract. Add the dry ingredients and mix just until no dry flour remains. Fold in the ½ cup (about 85 g) red and green sprinkles with a spatula. Cover and refrigerate the dough for 30 minutes so it is easier to shape and less likely to spread.
2. Shape the hollow cups
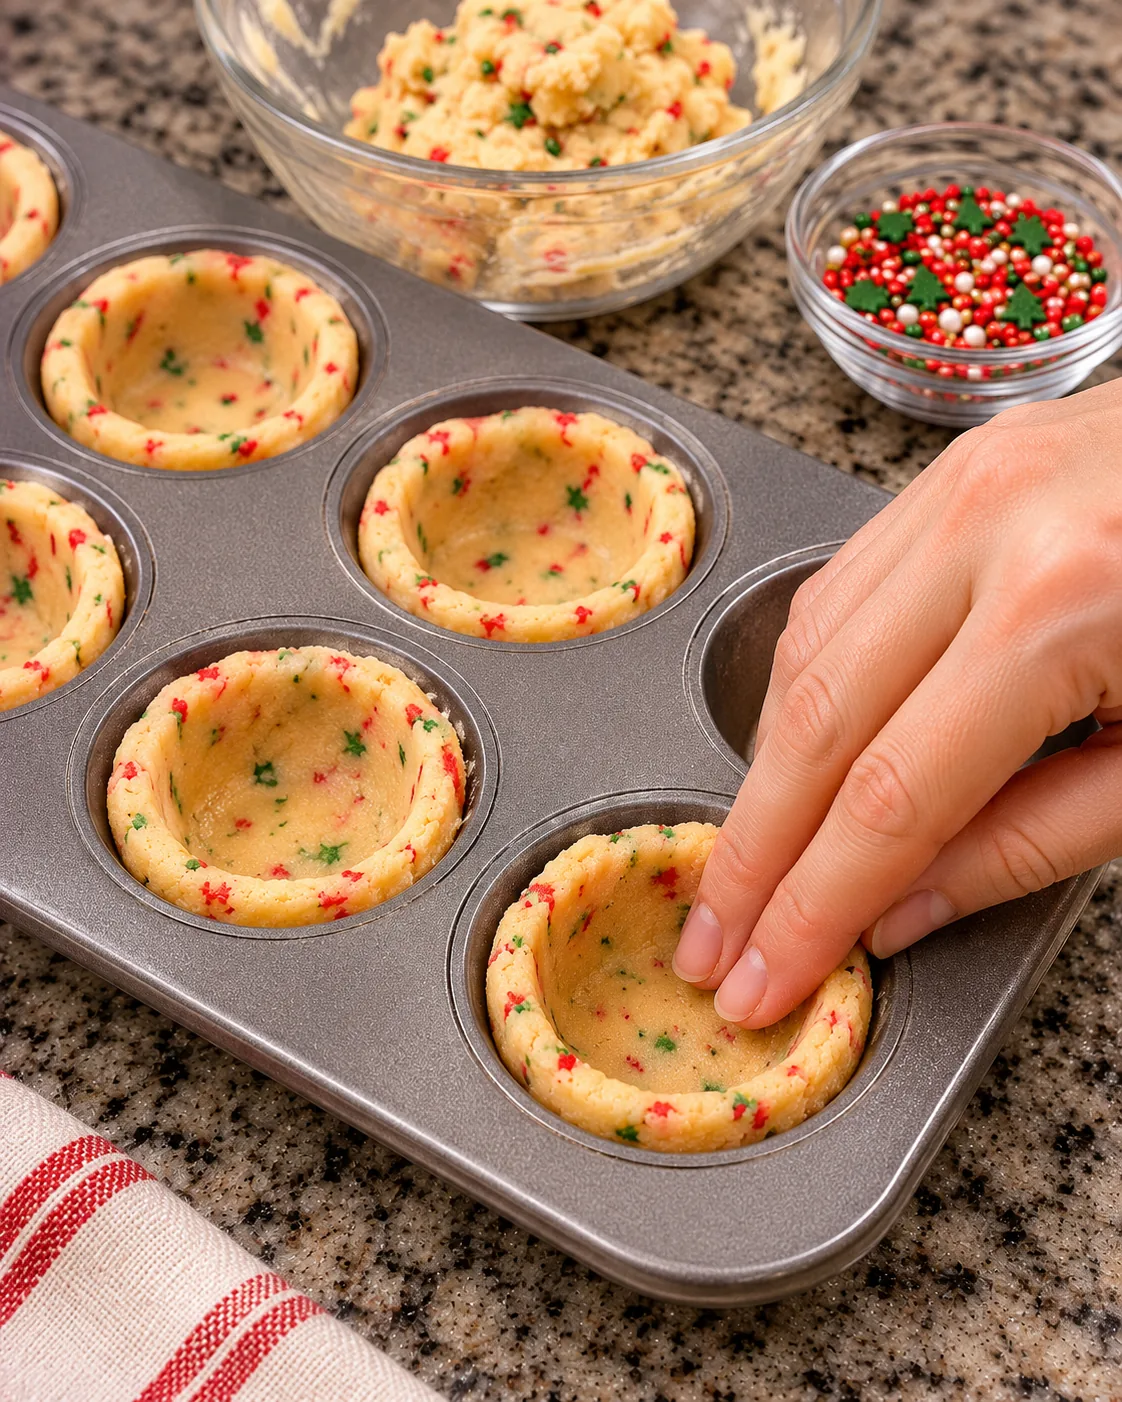
Heat the oven to 350°F (175°C). Lightly grease a standard 12-cup muffin pan. Divide the chilled dough evenly among the wells. Press each portion across the bottom and about three-quarters of the way up the sides, making a defined hollow in the center. Keep the base thick enough to lift later and try to make the side walls even. If the dough becomes sticky as you work, chill the shaped pan for 10 minutes before baking.
3. Bake, reshape, and cool
Bake for 15 to 18 minutes, until the rims look set and lightly golden. The centers may puff. Immediately after removing the pan from the oven, carefully press the centers down with the back of a small spoon or the base of a small measuring cup to reopen each cavity. Protect your hands from the hot pan and do not push all the way through the base. Let the shells cool in the pan for about 15 minutes, then gently loosen around each edge and transfer to a wire rack. Let them cool completely before frosting, about 30 minutes more.
4. Whip the vanilla frosting
Beat the ½ cup (113 g) unsalted butter, softened, until smooth. Add the 2 cups (240 g) powdered sugar in two additions, beating on low first so the sugar stays in the bowl. Add the 2 tablespoons (30 ml) heavy cream or milk and 1 teaspoon vanilla extract. Beat on medium speed for 2 to 3 minutes until light and pipeable. If the frosting feels too thick to pipe, add a few drops of cream; if it is too soft to hold a swirl, chill it briefly or add a little more powdered sugar.
5. Fill and decorate
Transfer the frosting to a piping bag fitted with a large star tip and pipe a swirl into each cool cookie cup. Scatter Extra red, green, and gold sprinkles over the frosting. Add Small green candy trees or other holiday candies, optional, if you like. Serve once the frosting is set enough to hold its shape. This recipe makes 12 standard-size Christmas Cookie Cups.
How to Keep the Cookie Centers Open
Three small choices make a big difference. Chill the dough before shaping, press a clear well into each portion, and reshape the centers just after baking while the cookies are still warm and flexible. The dough naturally rises in the oven, so a little puffing is expected. Pressing after baking is a normal part of making cookie cups, not a sign that the batch failed.
A rounded spoon or small measuring cup works better than a sharp utensil. Press straight down gently, leaving a substantial cookie base. If a rim cracks slightly, let the cup cool before trying to move it; the frosting will conceal minor unevenness. Do not overbake while waiting for the centers to look firm. The edges should be golden and set, and the cookies will continue to firm as they cool.
Tips for the Best Texture and Frosting
Mix the flour only until it disappears. Overmixing after the flour goes in can make a sugar-cookie shell tough. Fold in the sprinkles last and stop as soon as they are distributed. This keeps the colors from smearing through the dough. If the dough is too soft to press neatly, a short refrigerator rest is the easiest fix.
Let the baked cups cool completely before adding buttercream. Frosting on a warm cookie melts and sinks into the hollow. Softened butter is also important for the frosting: cold butter can leave lumps, while melted butter makes a runny swirl. Beat until the mixture is light and smooth, then add the cream gradually if you need to loosen it.
For the cleanest look, pipe the frosting from the outside edge toward the center and lift the tip at the top of the swirl. Add the decorative sprinkles immediately so they stick. If using candy trees, place one or two on each cup while the frosting is soft. You can keep the decoration simple for a large batch and still have the same festive cookie and buttercream flavor.
Serving Ideas
Arrange the cups on a white platter to make the red and green sprinkles stand out. A flat tray is easier to carry than a tall cake stand, especially if you have piped generous swirls. At a cookie exchange, set each cup in a small paper candy cup after it has cooled and been frosted; this makes serving tidy without baking the dough in a liner.
These cups are rich, so one standard-size cup is a satisfying dessert. Pair them with hot cocoa, coffee, or a glass of milk. They also work as an edible centerpiece on a holiday dessert table alongside plain sugar cookies and fruit. Keep the platter away from direct heat so the buttercream stays defined.
Make-Ahead and Storage
For the easiest make-ahead schedule, bake the cookie shells up to 2 days in advance. Let them cool fully, then store in a single layer in an airtight container at room temperature. You can make the frosting a day ahead and refrigerate it in a covered container; let it soften slightly and beat it briefly before piping. Assemble the cups on the day you plan to serve them for the crispest cookie edges and the neatest decoration.
Store frosted Christmas Cookie Cups in an airtight container in the refrigerator for up to 3 days. Let them sit at room temperature for about 15 to 20 minutes before serving so the buttercream softens. Keep them in a single layer or use a container tall enough to protect the frosting peaks. Unfrosted shells can be frozen, well wrapped, for up to 1 month. Thaw at room temperature inside their wrapping to limit condensation, then frost. Freezing fully decorated cups can dull or bleed some sprinkles.
Christmas Cookie Cups FAQ
Can I use a mini muffin pan?
Yes, but you will get more cups and the baking time will be shorter. Start checking at about 9 to 11 minutes, and use a teaspoon or similarly small rounded tool to press the centers. The directions and yield in this recipe are for a standard 12-cup muffin pan.
Why did my centers puff up?
Cookie dough expands as it bakes. Press the centers while the cookies are hot and still flexible. Chilling the dough and making a deep well before baking also help the cups hold their shape.
Can I use milk instead of heavy cream in the frosting?
Yes. The listed 2 tablespoons (30 ml) heavy cream or milk both work. Add only enough liquid to make a smooth, pipeable frosting. Heavy cream gives a slightly richer finish; milk keeps the recipe easy with ingredients you may already have.
Which sprinkles are best inside the cookie dough?
Red and green jimmies are a good choice for mixing into dough because they tend to keep their color as the cookies bake. Use nonpareils, gold pearls, or holiday shapes on the frosting if you want more detail and sparkle.
Do the cookies need to be refrigerated?
The unfilled baked shells can stay in an airtight container at room temperature for up to 2 days. Refrigerate the frosted cups to keep the buttercream fresh and shaped, then let them soften briefly before serving.
Conclusion
Christmas Cookie Cups combine two favorite holiday treats: a soft vanilla sprinkle cookie and a fluffy buttercream swirl. Shape the dough in a muffin pan, press the centers after baking, and wait until the shells are fully cool before decorating. With bright sprinkles and an optional candy tree, each cup is a cheerful individual dessert that is easy to prepare ahead for a Christmas gathering.
Print
Christmas Cookie Cups
- Prep Time: 35 minutes
- Cook Time: 18 minutes
- Total Time: 1 hour 53 minutes, including chilling and cooling
- Yield: 12 cookie cups 1x
- Category: Desserts
- Method: Baking
Description
Twelve golden red-and-green sprinkle sugar-cookie cups with piped vanilla buttercream and festive decorations.
Ingredients
- 2½ cups (300 g) all-purpose flour
- 1 teaspoon baking powder
- ½ teaspoon salt
- ¾ cup (170 g) unsalted butter, softened
- 1 cup (200 g) granulated sugar
- 1 large egg
- 2 teaspoons vanilla extract
- ½ cup (about 85 g) red and green sprinkles
- ½ cup (113 g) unsalted butter, softened
- 2 cups (240 g) powdered sugar
- 2 tablespoons (30 ml) heavy cream or milk
- 1 teaspoon vanilla extract
- Extra red, green, and gold sprinkles
- Small green candy trees or other holiday candies, optional
Instructions
Step 1 Whisk 2½ cups (300 g) all-purpose flour, 1 teaspoon baking powder, and ½ teaspoon salt. Beat ¾ cup (170 g) unsalted butter, softened, with 1 cup (200 g) granulated sugar for 2 to 3 minutes. Beat in 1 large egg and 2 teaspoons vanilla extract. Mix in dry ingredients just until combined, then fold in ½ cup (about 85 g) red and green sprinkles. Cover and chill for 30 minutes.
Step 2 Preheat oven to 350°F (175°C). Lightly grease a standard 12-cup muffin pan. Divide dough evenly among the wells, about 65 to 70 g each. Press across the bottom and about three-quarters up the sides to make a deep hollow center. If dough has warmed, chill the shaped pan for 10 minutes.
Step 3 Bake at 350°F (175°C) for 15 to 18 minutes until rims are set and lightly golden. While still hot, gently press down any puffed centers with the back of a rounded spoon. Cool in the pan for 15 minutes, then loosen and transfer to a rack to cool completely, about 30 minutes.
Step 4 For frosting, beat ½ cup (113 g) unsalted butter, softened, until smooth. Add 2 cups (240 g) powdered sugar in two additions. Beat in 2 tablespoons (30 ml) heavy cream or milk and 1 teaspoon vanilla extract until light and pipeable, about 2 to 3 minutes.
Step 5 Pipe the vanilla frosting into the 12 completely cool cookie cups. Top with Extra red, green, and gold sprinkles. Add Small green candy trees or other holiday candies, optional. Serve at room temperature or slightly chilled.
Notes
Chill the dough for 30 minutes before shaping to limit spreading. Press the centers again immediately after baking to keep the cups hollow. Let the shells cool completely before piping the buttercream. Use sturdy red and green jimmies inside the dough; reserve fine sprinkles for decorating.