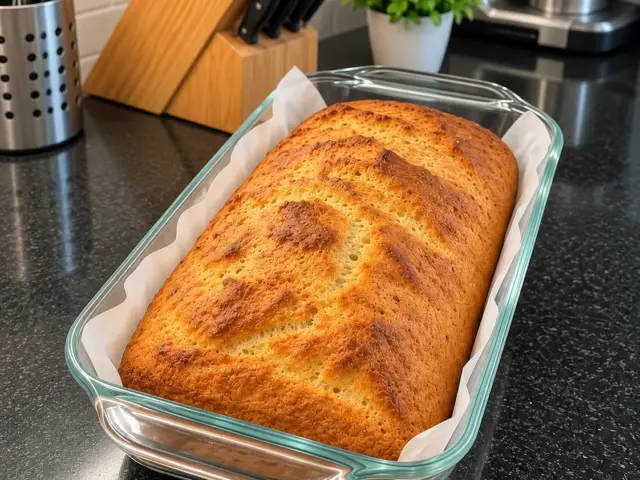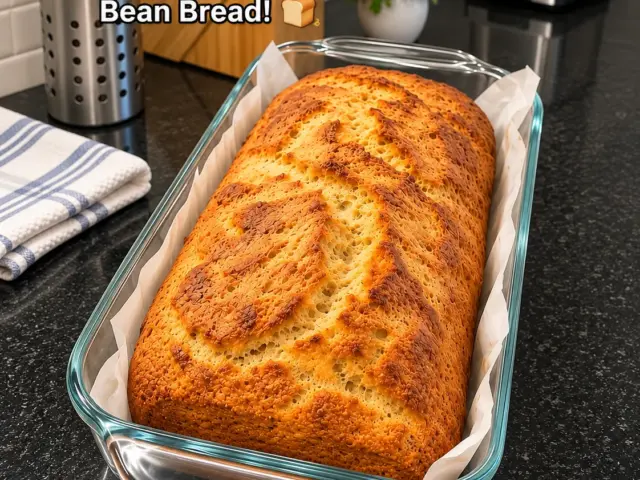
Fluffy Homemade Milk Sandwich Loaf is the kind of soft bread that makes everyday sandwiches feel special. Whole milk, butter, and an egg enrich the dough, while yeast creates the lift for a tall, tender loaf. After baking, a light butter, milk, and honey glaze gives the top the glossy golden appearance shown in the reference photo. The bread is mild enough for toast and sandwiches, yet rich enough to enjoy plain while still warm.
This recipe uses four cups of flour and a generous amount of milk and water, so the mixed dough will feel softer and stickier than a lean French bread dough. That softness is intentional, but it needs patient mixing and adequate rising rather than heavy dusting with flour. The guide below explains how to judge the texture, work the dough into a pan, and check that the center is baked before brushing on the buttery finish. Allow time for a full cool before slicing if you want tidy sandwich pieces.
Why You’ll Love This Recipe
The crumb stays tender because milk, egg, and melted butter enrich the dough. Sugar adds a gentle sweetness without turning the bread into a dessert, and it helps the crust color. A final brushing softens the top so the loaf is pleasant to cut and eat. The ingredient list is short, familiar, and easy to measure before you begin.
You can make this loaf for lunchbox sandwiches, morning toast, or a bread basket at dinner. It works with either all-purpose flour or bread flour, although bread flour may handle the generous liquid more easily and give a little more structure. The optional additions let you change richness and sweetness in small, deliberate ways. Choose one or two rather than adding every option at once, so the dough remains predictable.
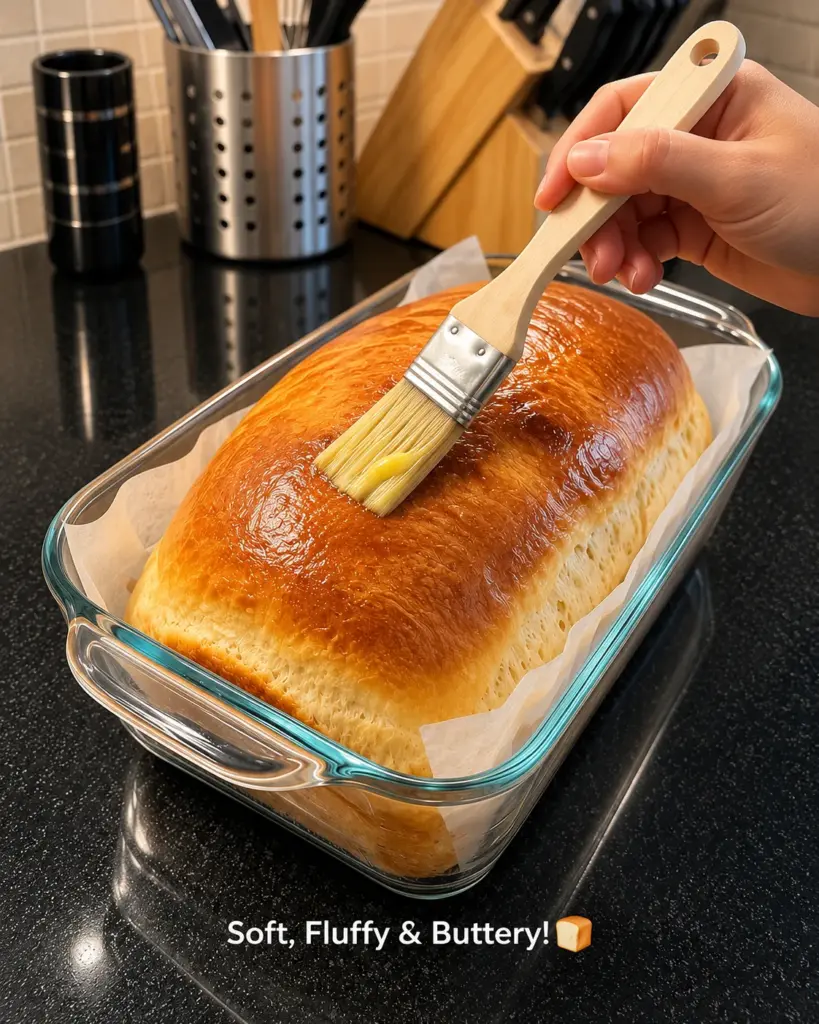
The reference image also shows a practical finish: brushing a fully baked loaf while it is still warm. That quick step gives the smooth, glossy top without an egg wash before baking. You can keep the bread in the pan for the first few minutes after baking, then lift it onto a rack to release steam from the sides and bottom.
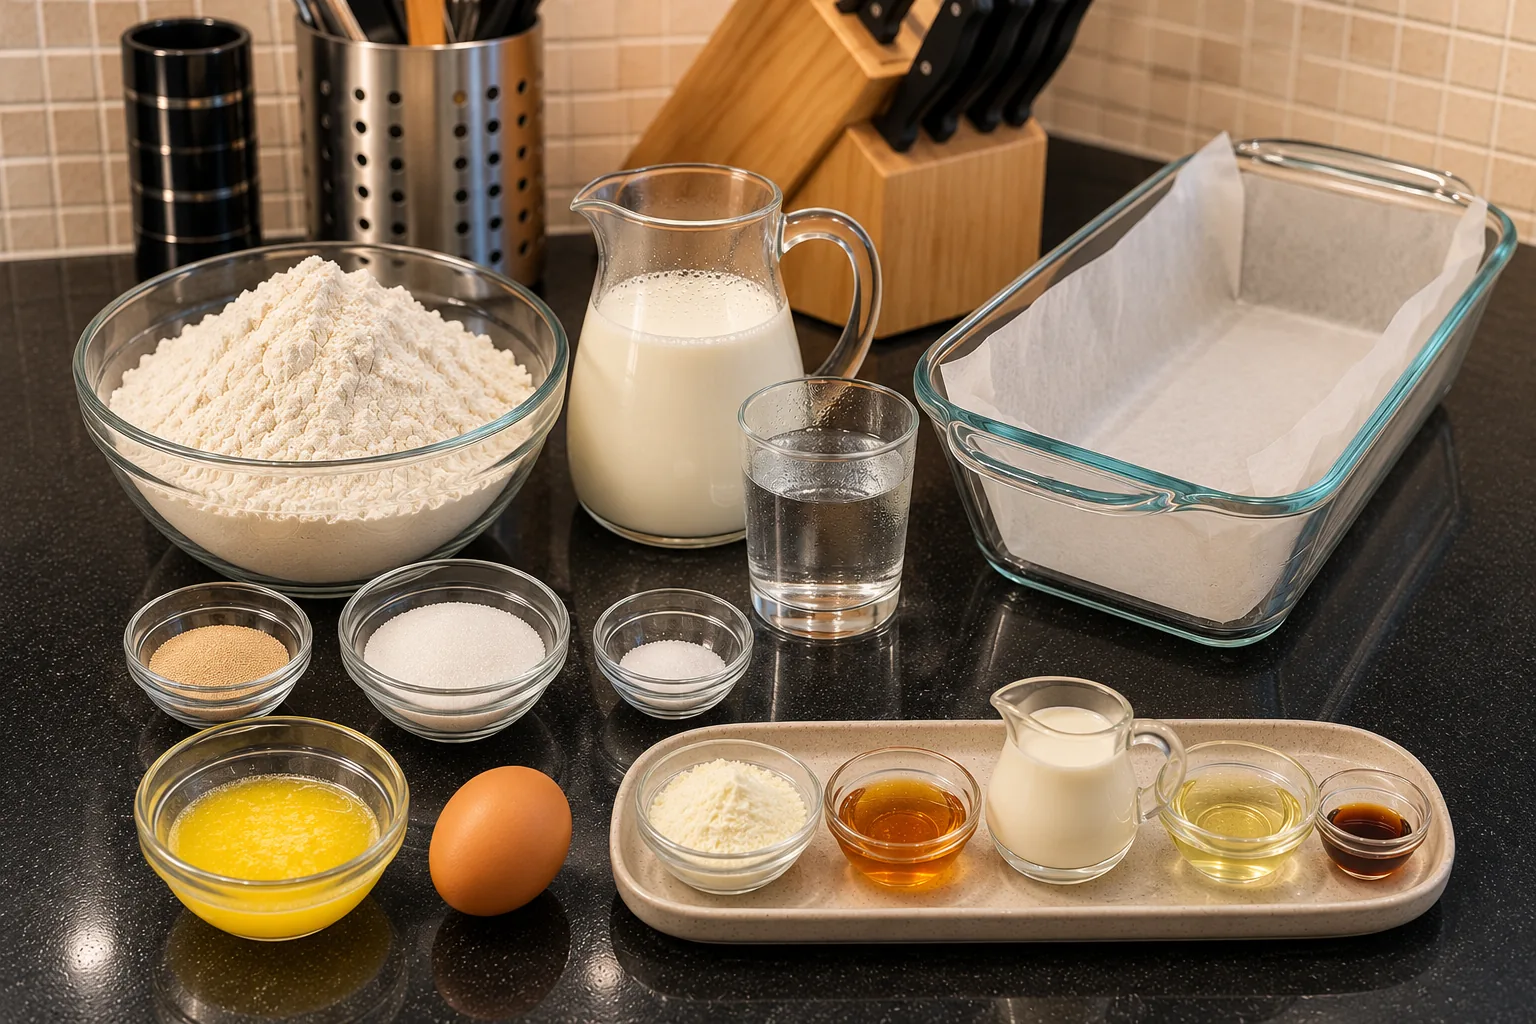
Ingredients
For the Bread
- 4 cups all-purpose flour or bread flour — Bread flour can help a very soft dough hold its shape, while all-purpose flour produces a more delicate bite. Spoon flour into the cup and level it, or weigh it for consistency; do not press it into the cup.
- 1 1/2 cups warm whole milk — Whole milk adds flavor and a fine, tender crumb. It should feel pleasantly warm, around 100–110°F (38–43°C), not hot enough to damage the yeast.
- 1/4 cup warm water — The water helps disperse the yeast and keeps the dough supple. Warm it to roughly the same temperature as the milk.
- 2 1/4 teaspoons instant yeast — Instant yeast can go directly into the flour or be dispersed in the warm liquids. Use fresh yeast and watch for a visible rise rather than depending only on the clock.
- 3 tablespoons granulated sugar — This small amount lightly sweetens the loaf and supports browning. It does not make the finished slices taste like cake.
- 1 1/2 teaspoons fine sea salt — Salt balances the sweetness and strengthens the dough. Measure it instead of guessing, because too much can slow the rise.
- 4 tablespoons unsalted butter, melted — Let the butter cool until warm before mixing. It softens the crumb without adding an overt buttery flavor to every slice.
- 1 large egg — The egg enriches the dough and helps it set into a sliceable loaf. Bring it to room temperature if convenient so it blends readily with the milk.
Optional Additions
- 2 tablespoons powdered milk for extra softness — Whisk with the flour if using. It adds milk solids without adding more liquid to the already soft dough.
- 2 tablespoons honey for a lightly sweet loaf — Mix into the warm liquids. This is extra sweetness beyond the listed sugar, so choose it only when you want a sweeter loaf.
- 2 tablespoons heavy cream for a richer texture — Add with the milk if desired. It makes the dough richer and possibly softer, so do not combine it automatically with every other optional liquid.
- 1 tablespoon vegetable oil for a tender crumb — Add with the melted butter. A neutral oil keeps the flavor focused on milk and butter.
- 1/2 teaspoon vanilla extract for a subtle sweetness — Use only for a gently sweet version; leave it out for savory sandwiches.
For the Golden Buttery Topping
- 2 tablespoons unsalted butter, melted — Brush onto the hot baked loaf to soften and shine the crust. This is separate from the butter in the dough.
- 1 tablespoon whole milk — Whisk with the melted butter for a thin, easy-to-spread finish.
- 1 teaspoon honey for a glossy golden crust — A small amount adds sheen. Mix it into the warm butter and milk so the glaze spreads evenly rather than pooling.
Ingredient Notes and Substitutions
The combination of 1 1/2 cups milk, 1/4 cup water, an egg, and melted butter makes a very soft dough for four cups of flour. Flour brands and cup-filling methods vary, so watch the dough itself. After mixing and a short rest it should be sticky but hold together as a soft mass, not run like pancake batter. Bread flour may feel stronger than all-purpose flour here. If the mixture truly pours after thorough mixing, the flour may have been undermeasured; work in a small spoonful at a time until it gathers, rather than suddenly adding a large amount.
Instant yeast does not require a separate foamy proof. You can whisk it with the flour or stir it into the milk and water. The liquids should be comfortably warm to the touch; hot liquids can slow or stop yeast activity. Melted butter should be warm, not scorching. A cool kitchen may extend both rises, so judge by the size and airiness of the dough.
Optional powdered milk, honey, cream, oil, and vanilla are alternatives for tailoring the loaf, not a checklist to use together. Extra cream and honey can change how soft the dough feels and how quickly the crust browns. Start with the base formula, then choose one or two optional additions the next time you bake it. The topping ingredients are separate from the dough ingredients and should be mixed only after the bread has nearly finished baking.
A 9-by-5-inch loaf pan gives the dough room to rise. A clear glass pan resembles the photo, but glass can hold heat differently from metal. Bake on the center rack and check the center of the loaf, not just its shiny surface. If your pan is unusually small and the dough reaches more than about two-thirds of its height before the second rise, use a larger pan rather than letting it overflow.
Instructions — Detailed Preparation
Step 1: Prepare the pan and liquids
Line a 9-by-5-inch loaf pan with parchment, leaving enough overhang to lift the bread later. Warm 1 1/2 cups whole milk and 1/4 cup water to about 100–110°F (38–43°C). Melt 4 tablespoons unsalted butter for the dough and let it cool slightly. Set out 1 large egg so it is ready when the liquids are mixed.
Step 2: Combine the dry ingredients
In a large bowl whisk 4 cups all-purpose flour or bread flour with 2 1/4 teaspoons instant yeast, 3 tablespoons granulated sugar, and 1 1/2 teaspoons fine sea salt. If using the optional 2 tablespoons powdered milk for extra softness, whisk it in now. This distributes yeast and salt evenly so one area of the dough does not rise or taste different from another.
Step 3: Make a soft dough
Pour the warm whole milk, warm water, and 4 tablespoons unsalted butter, melted and cooled slightly, into the flour mixture. Add the large egg. Stir firmly with a spatula until no dry pockets remain, then rest the mixture for 10 minutes so the flour hydrates. If using 2 tablespoons honey for a lightly sweet loaf, stir it into the warm liquids first. If choosing 2 tablespoons heavy cream for a richer texture, 1 tablespoon vegetable oil for a tender crumb, or 1/2 teaspoon vanilla extract for a subtle sweetness, add them with the wet ingredients.
Step 4: Develop structure without drying it out
Mix with a dough hook on low speed for 6 to 8 minutes, or use oiled hands to lift and fold the dough in the bowl for several minutes. It will remain soft and somewhat tacky, but should become more elastic and gather together. Avoid adding large handfuls of flour simply to make the surface dry. If it remains pourable after thorough mixing, add flour one tablespoon at a time only until it holds a soft mound.
Step 5: Let the dough rise
Cover the bowl and let the dough rise in a warm, draft-free place for about 60 to 90 minutes, until noticeably puffy and roughly doubled. A cool room can take longer. Lightly oil your hands before touching it. If it sticks to the cover, ease it off gently rather than tearing out a large pocket of gas.
Step 6: Pan the loaf and proof again
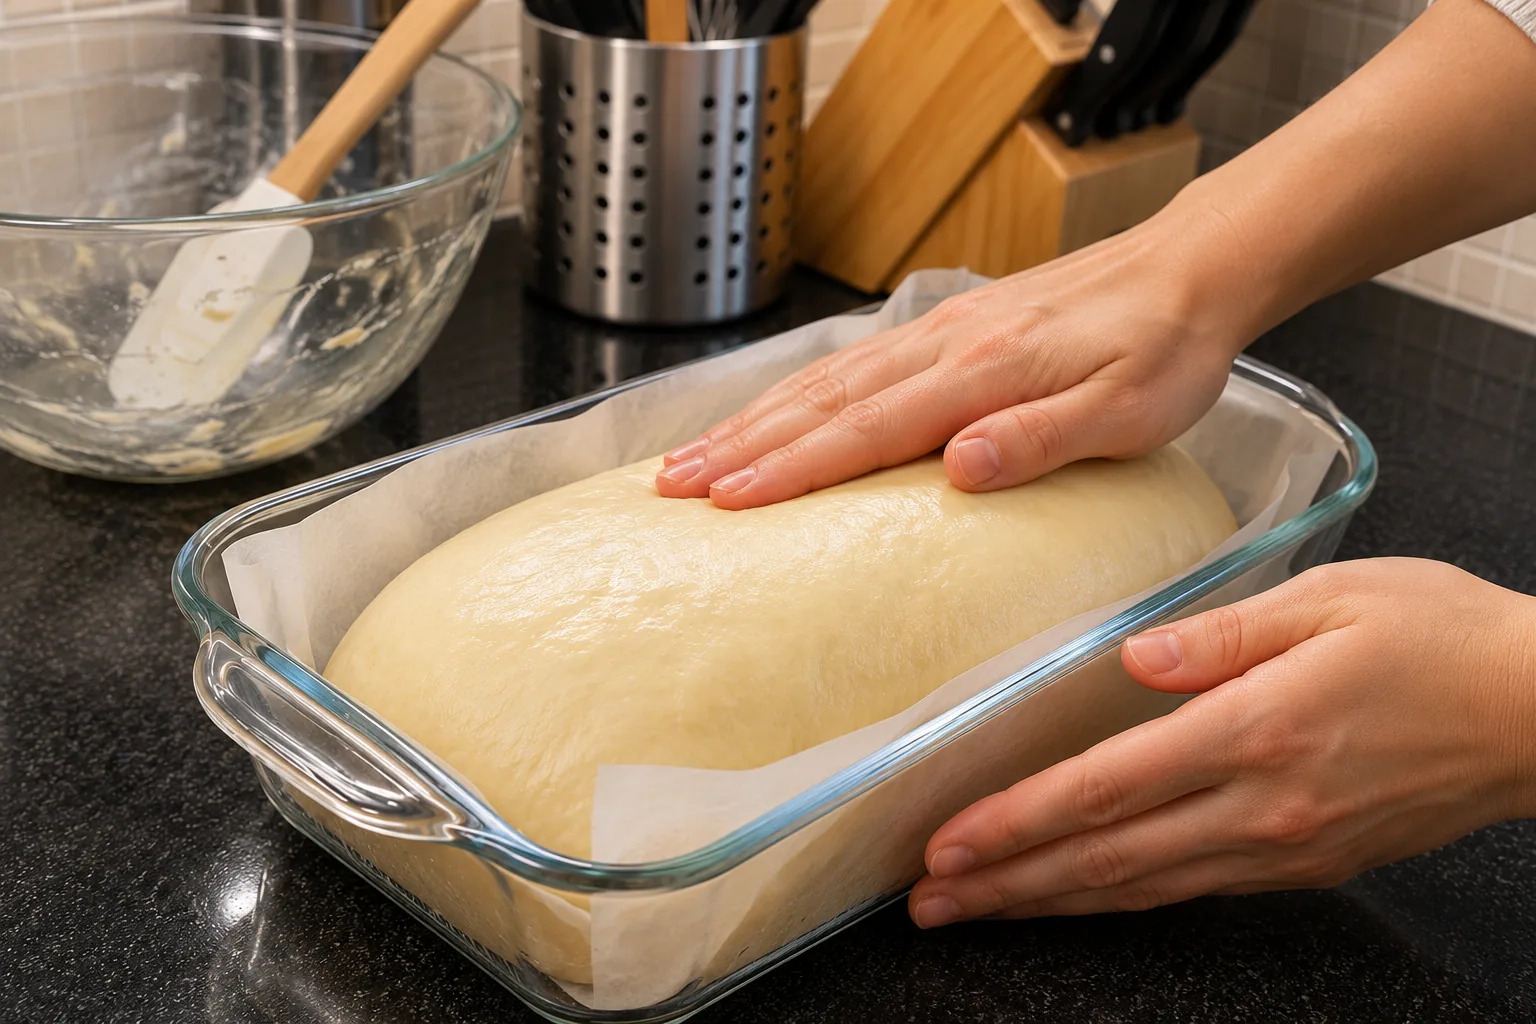
Gently deflate the risen dough just enough to release the largest bubbles. On a lightly oiled work surface, fold the sides toward the center and roll the dough into a short log that fits the prepared pan. If it is too soft to roll neatly, use oiled hands to transfer and smooth it directly in the pan. Cover loosely and let it rise for about 35 to 50 minutes, until the top is rounded and near the pan rim. Preheat the oven to 350°F (175°C) during this rise.
Step 7: Bake until the center is done
Bake on the center rack at 350°F (175°C) for about 40 to 50 minutes. The top should be richly golden and the loaf should feel set; a thermometer inserted into the center should read about 190–200°F (88–93°C). If the top browns before the middle is ready, tent it loosely with foil and continue baking in five-minute intervals. Glass and metal pans may bake at slightly different rates.
Step 8: Brush the golden top
While the loaf bakes, combine the topping’s separate 2 tablespoons unsalted butter, melted, 1 tablespoon whole milk, and 1 teaspoon honey for a glossy golden crust. As soon as the fully baked loaf comes out, brush a thin even layer over the warm top, as shown in the reference photo. Do not soak the bread; save any extra glaze for another use rather than pouring it into the pan.
Step 9: Cool and slice
Let the loaf stand in the pan for 10 minutes, then lift it out with the parchment and cool on a wire rack for about 45 to 60 minutes before slicing. This lets steam escape and the crumb set. Use a serrated bread knife and a gentle sawing motion for neat slices. Warm bread is tempting, but cutting too soon can compress the center.
Expert Tips
- Warm milk and water gently. They should feel pleasantly warm, never hot, so the instant yeast stays active.
- Measure flour carefully. A cup pressed into the bag can contain much more flour than a spooned and leveled cup.
- Allow a 10-minute rest after the first mix. Flour absorbs liquid during that short pause, making the dough easier to assess.
- Use oiled hands or a dough scraper for the soft dough instead of burying it in bench flour.
- Let the first rise be guided by visible volume and airiness, not an exact timer. Cooler kitchens need more time.
- Start checking the oven at 40 minutes, then confirm the center with a thermometer if available.
- Brush only after baking for the shiny, soft crust in the reference photo; do not rely on surface color alone to determine doneness.
- Cool on a rack before slicing so the loaf’s interior becomes stable enough for sandwiches.
Common Mistakes
Adding too much flour to make the dough feel dry can produce a dense loaf. This formula is moist, and the dough will be tackier than a typical lean bread dough. Give it a brief hydration rest and mix until it gains elasticity before judging whether it truly needs a spoonful more flour. The goal is a cohesive soft mass, not a stiff ball.
Using milk or butter that is too hot can harm the yeast. Warm liquids around 100–110°F are sufficient. Another common problem is rushing the first rise because the clock has reached 60 minutes. If the dough is not visibly puffy, give it more time. Conversely, letting the second rise go far above the pan rim may cause the loaf to collapse in the oven.
A dark golden crust can hide an underbaked center, especially in a large enriched loaf. Check the middle and tent the top if necessary. Finally, brushing on too much glaze while the loaf is still trapped in the pan can make the sides damp. Brush a thin layer on the baked surface, remove the loaf after a short rest, and finish cooling on a rack.
Serving Ideas
Use the cooled loaf for soft turkey, egg, or vegetable sandwiches. Its mild sweetness also suits peanut butter, jam, or honey at breakfast. Toasting brings back a little crispness at the edges while keeping the center tender. For a simple dinner, serve slices beside soup or a salad and let the warm bread soak up a little of the dressing or broth.
For French toast, cut slightly thicker slices and use bread that is at least a day old so it absorbs the custard without falling apart. For a bread basket, slice shortly before serving and keep the pieces under a clean towel. The lightly buttery top gives the loaf a polished appearance even without seeds or an egg wash.
Storage and Freezing
Let the loaf cool completely before wrapping. Keep it in a bread bag or airtight container at room temperature for up to 2 days, away from heat and direct sun. Because the loaf contains milk, egg, and butter, refrigerate if your kitchen is very warm or if you need longer storage; wrapped slices keep in the refrigerator for up to 4 days. Refrigeration can firm bread, so toast or warm slices before serving.
For freezing, slice the fully cooled loaf and place parchment between slices. Wrap tightly and freeze for up to 2 months. Take out only the slices you need and toast from frozen, or thaw covered at room temperature. Avoid storing a warm loaf in plastic because trapped steam softens the crust and can leave the sides damp.
FAQ
Can I use all-purpose flour instead of bread flour?
Yes. Both are listed. Bread flour can give a little more structure to this soft dough; all-purpose flour may make a more delicate crumb. Watch the dough’s texture either way.
Why is my dough sticky?
The recipe contains a generous amount of milk and water plus an egg and butter. A sticky, soft dough is expected. Mix thoroughly, rest it briefly, and use oiled hands. Add flour only by small spoonfuls if the mixture remains pourable.
Do I need to proof instant yeast first?
No. Instant yeast can be whisked with the flour. Make sure it is fresh and that the liquids are warm rather than hot, then judge the first rise by the dough’s visible expansion.
Can I skip the honey in the topping?
Yes. The loaf still gets a soft butter-and-milk finish, though it will be a little less glossy and sweet. The honey is part of the listed topping, so omitting it changes the finish, not the bread dough.
How do I know when the loaf is baked through?
The top should be golden, but check the center too. A thermometer reading around 190–200°F (88–93°C) is useful. If the top colors first, tent it loosely while the center finishes.
When can I slice it for sandwiches?
Let it stand about 10 minutes in the pan, then cool on a rack for roughly 45 to 60 minutes. A cooler loaf makes cleaner slices and a more settled crumb.
Conclusion
Fluffy Homemade Milk Sandwich Loaf is a soft, golden bread built from warm milk, yeast, flour, butter, and an egg. Handle its moist dough patiently, let both rises develop fully, and confirm that the center is baked before applying the thin butter, milk, and honey glaze. After a proper cool, the loaf slices neatly for toast, sandwiches, and easy make-ahead meals.
Print
Fluffy Homemade Milk Sandwich Loaf
- Prep Time: 25 minutes
- Cook Time: 45 minutes
- Total Time: 3 hours 45 minutes
- Yield: 1 loaf (12 slices) 1x
- Category: Sourdough
- Method: Baking
Description
A tender, golden milk sandwich loaf with a soft crumb and a buttery honey-milk finish.
Ingredients
- 4 cups all-purpose flour or bread flour
- 1 1/2 cups warm whole milk
- 1/4 cup warm water
- 2 1/4 teaspoons instant yeast
- 3 tablespoons granulated sugar
- 1 1/2 teaspoons fine sea salt
- 4 tablespoons unsalted butter, melted
- 1 large egg
- 2 tablespoons powdered milk for extra softness
- 2 tablespoons honey for a lightly sweet loaf
- 2 tablespoons heavy cream for a richer texture
- 1 tablespoon vegetable oil for a tender crumb
- 1/2 teaspoon vanilla extract for a subtle sweetness
- 2 tablespoons unsalted butter, melted
- 1 tablespoon whole milk
- 1 teaspoon honey for a glossy golden crust
Instructions
Step 1 Line a 9-by-5-inch loaf pan with parchment, leaving enough overhang to lift the bread later. Warm 1 1/2 cups whole milk and 1/4 cup water to about 100–110°F (38–43°C). Melt 4 tablespoons unsalted butter for the dough and let it cool slightly. Set out 1 large egg so it is ready when the liquids are mixed.
Step 2 In a large bowl whisk 4 cups all-purpose flour or bread flour with 2 1/4 teaspoons instant yeast, 3 tablespoons granulated sugar, and 1 1/2 teaspoons fine sea salt. If using the optional 2 tablespoons powdered milk for extra softness, whisk it in now. This distributes yeast and salt evenly so one area of the dough does not rise or taste different from another.
Step 3 Pour the warm whole milk, warm water, and 4 tablespoons unsalted butter, melted and cooled slightly, into the flour mixture. Add the large egg. Stir firmly with a spatula until no dry pockets remain, then rest the mixture for 10 minutes so the flour hydrates. If using 2 tablespoons honey for a lightly sweet loaf, stir it into the warm liquids first. If choosing 2 tablespoons heavy cream for a richer texture, 1 tablespoon vegetable oil for a tender crumb, or 1/2 teaspoon vanilla extract for a subtle sweetness, add them with the wet ingredients.
Step 4 Mix with a dough hook on low speed for 6 to 8 minutes, or use oiled hands to lift and fold the dough in the bowl for several minutes. It will remain soft and somewhat tacky, but should become more elastic and gather together. Avoid adding large handfuls of flour simply to make the surface dry. If it remains pourable after thorough mixing, add flour one tablespoon at a time only until it holds a soft mound.
Step 5 Cover the bowl and let the dough rise in a warm, draft-free place for about 60 to 90 minutes, until noticeably puffy and roughly doubled. A cool room can take longer. Lightly oil your hands before touching it. If it sticks to the cover, ease it off gently rather than tearing out a large pocket of gas.
Step 6 Gently deflate the risen dough just enough to release the largest bubbles. On a lightly oiled work surface, fold the sides toward the center and roll the dough into a short log that fits the prepared pan. If it is too soft to roll neatly, use oiled hands to transfer and smooth it directly in the pan. Cover loosely and let it rise for about 35 to 50 minutes, until the top is rounded and near the pan rim. Preheat the oven to 350°F (175°C) during this rise.
Step 7 Bake on the center rack at 350°F (175°C) for about 40 to 50 minutes. The top should be richly golden and the loaf should feel set; a thermometer inserted into the center should read about 190–200°F (88–93°C). If the top browns before the middle is ready, tent it loosely with foil and continue baking in five-minute intervals. Glass and metal pans may bake at slightly different rates.
Step 8 While the loaf bakes, combine the topping's separate 2 tablespoons unsalted butter, melted, 1 tablespoon whole milk, and 1 teaspoon honey for a glossy golden crust. As soon as the fully baked loaf comes out, brush a thin even layer over the warm top, as shown in the reference photo. Do not soak the bread; save any extra glaze for another use rather than pouring it into the pan.
Step 9 Let the loaf stand in the pan for 10 minutes, then lift it out with the parchment and cool on a wire rack for about 45 to 60 minutes before slicing. This lets steam escape and the crumb set. Use a serrated bread knife and a gentle sawing motion for neat slices. Warm bread is tempting, but cutting too soon can compress the center.
Notes
Use exactly three distinct WebP images; reuse the featured media ID for the Tasty card. Let the loaf cool completely before wrapping. Keep it in a bread bag or airtight container at room temperature for up to 2 days, away from heat and direct sun. Because the loaf contains milk, egg, and butter, refrigerate if your kitchen is very warm or if you need longer storage; wrapped slices keep in the refrigerator for up to 4 days. Refrigeration can firm bread, so toast or warm slices before serving. For freezing, slice the fully cooled loaf and place parchment between slices. Wrap tightly and freeze for up to 2 months. Take out only the slices you need and toast from frozen, or thaw covered at room temperature. Avoid storing a warm loaf in plastic because trapped steam softens the crust and can leave the sides damp.